Texture Baking in Blender: High-Poly Detail on Low-Poly Assets
Texture Baking in Blender: What Actually Happens During a Bake
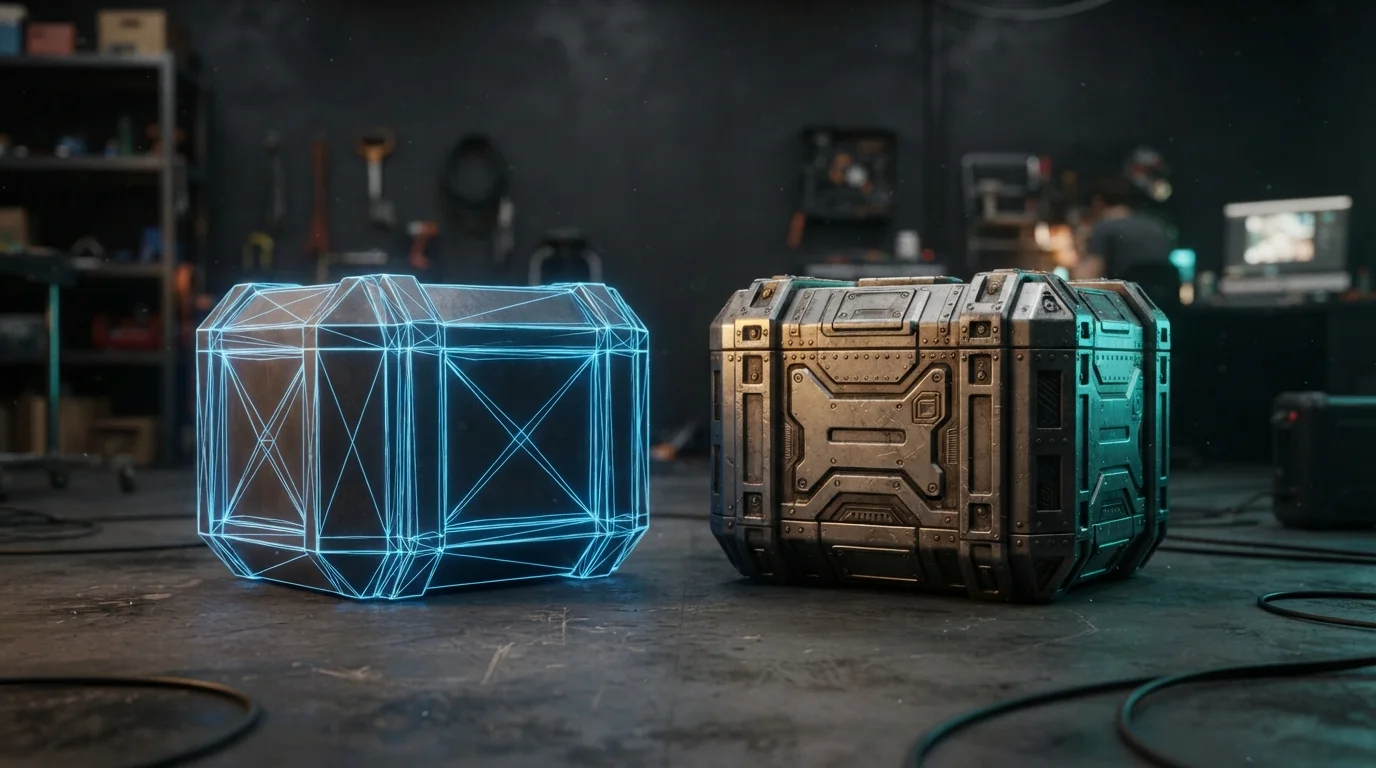
Texture baking in Blender is the step that makes a game-ready mesh look like a sculpt without paying for the sculpt. You keep two meshes: the high poly carrying every groove and scratch, and the low poly that ships. The bake projects the detail of one onto the other as pixels.
Rays, texels and the flat 128, 128, 255 normal
Every bake is a ray-casting job: Cycles fires rays from the low-poly surface inwards towards the high poly, samples what they hit and writes the difference into an image. A working normal map is a flat lavender-blue sheet, red for X, green for Y, blue for Z of the surface direction, so flat areas sit near RGB 128, 128, 255, and anything visible in it is a dent or bulge the low poly does not have.
Detail moves from geometry to texture
Geometry costs vertices and draw calls; a texture costs bandwidth. Baking keeps the silhouette cheap and the detail expensive-looking.
What baking does not fix
A bake transfers detail, it does not repair a model. A wrong silhouette stays wrong, overlapping UVs stay overlapped, bad shading gets baked in. Choosing between map types is a different problem, covered in Bump, Normal or Displacement?.
Bake Types in Cycles: What to Bake for a PBR Set
The Bake Type menu lists Combined, Ambient Occlusion, Shadow, Position, Normal, UV, Roughness, Emit, Environment, Diffuse, Glossy and Transmission. Cycles bakes with your render settings, samples included, so a low sample count shows up in the baked pixels.
Base Color: Diffuse with only Color on
Select Diffuse, leave Color enabled, turn Direct and Indirect off. Otherwise you bake scene lighting into the albedo and the texture is pre-lit, wrong under any other light. Base color stays sRGB.
Normal: tangent space, non-color
Bake type Normal, Normal Space Tangent, target image set to Non-Color. Tangent space is independent of object transform and deformation, so the map still works on animated characters; Object space suits static props only. Swizzle R, G, B remaps which axis lands in which channel.
Roughness and ambient occlusion
Both are data, not color. Bake each into a Non-Color image; Ambient Occlusion gives a cavity map you can multiply over any layer.
Metallic has no pass: the Emit workaround
There is no Metallic entry in that list. Route the metallic value into an Emission shader, bake Emit into a Non-Color image, and you have your channel. The trick works for any scalar you need as a map.
Bake from Multires
If the sculpt lives in a Multiresolution modifier, Bake from Multires compares Viewport Levels against Render Levels and writes a Normals, Displacement or Vector Displacement map. No cage, no ray distance.
Prepare Both Meshes Before You Bake
Most failed bakes are lost here, before a single ray is fired.
Align origins and apply scale
Overlap both meshes in the same space, then apply scale on each with Ctrl+A > Scale. An unapplied scale displaces the projection.
UVs: no overlap, real padding, even texel density
The low poly needs a UV map with islands inside the 0-1 space and real padding. Overlapping islands write two sets of detail into the same texels and the bake comes out ghosted: fine for a beauty render, fatal for a bake. Even texel density keeps the sharp detail across the whole model, not just the big islands, and packing is developed in Trim Sheets in Blender. A UV checker is the cheap test before you commit.
Recalculate normals outside on both meshes
Select everything and press Shift+N, then enable the face orientation overlay: blue faces point outward, red inward. One flipped face is one black patch.
Match the shading you will ship
Bake against the low poly exactly as it will be exported: hard edges marked, Weighted Normals applied, mesh triangulated, because quad against triangle diagonals shift shading. A hard edge is a 90-degree normal jump tangent space cannot represent smoothly, so both meshes must agree on where the edges are hard.
Selected to Active: The Selection Order Everyone Gets Wrong
In Render Properties > Bake, the result goes to the active and selected Image Texture node, or to the Active Color Attribute; if a material has no active image node, nothing is baked for it. Clear Image wipes the target first, which matters when you rebake into the same file.
High-poly first, low-poly last
Turn on Selected to Active, select the high-poly objects first, then Shift-click the low poly last so it becomes active. Rays cast from the low poly inwards and the active object receives the result. Reverse the order and you bake nothing usable.
Extrusion and Max Ray Distance: starting values
Rays reach the high poly through Extrusion or Max Ray Distance, depending on whether you use a cage. The values scale with your model: guides suggest Extrusion around 0.05 to 0.2 m with Max Ray Distance at 0 for auto, or 0.01 to 0.1 with a ray distance of 0.1 to 1.0. Start low, raise extrusion until blank patches fill, and back off when the back of the model bleeds through. Change one value, re-bake, look.
Cage vs no cage
A cage is a ballooned-out copy of the low poly. Without one, rays follow the mesh normals: fast, fine for baking onto flat planes, but glitchy along hard edges. With Cage enabled, rays cast from the expanded surface, so corners and bevels sample the right part of the high poly. Max Ray Distance is only available without a cage.
Building a manual cage
Enable Cage and either set Cage Extrusion or point Cage Object at a mesh you built. The usual approach is duplicating the low poly and pushing it outward with Alt+S (Shrink/Fatten) until it encloses the high poly. Two rules: a manual cage needs identical topology to the low poly, same face count and order, and the rays are cast from a version of the active object with Edge Split disabled. Join your high-poly objects first, since each object used as a bake source costs fixed CPU memory.
Margin and Image Settings That Stop Seams
Margin size scales with resolution
When baking to images, Blender generates a margin around the UV islands to avoid discontinuities at seams from filtering and mip-mapping. Size is in pixels and scales with resolution: 8 px at 1K, 16 px at 2K, 32 px at 4K is common advice, while some sources consider 2 to 4 px enough. Margin does not rescue islands packed edge to edge, so repack with a gutter first.
Extend vs Adjacent Faces
Extend pushes border pixels outward from each island; Adjacent Faces fills the margin with pixels from faces across the seam, which usually gives the cleaner result on an atlas.
The bake target must be the active node
Before hitting Bake, click the Image Texture node in the Shading tab so it is active and selected. That node is the destination.
Troubleshooting: Read the Bake Instead of Guessing
- Solid black: wrong color space, or rays that never reach the high poly.
- Looks flat: the meshes do not overlap, or the shading was never matched.
- Smudged or skewed: a cage that does not enclose the high poly, or mismatched hard edges.
- Bumps that look like dents: a green-channel mismatch, covered below.
Four root causes cover nearly every broken normal bake: the wrong color space, no cage or a bad ray distance, flipped normals on either mesh, and a tangent-basis mismatch between Blender and the engine.
Handoff: Unity, Unreal and Blender Materials
Blender bakes OpenGL-style normal maps, green up. Unreal Engine expects DirectX-style, green down, so an unchanged map inverts every slope along the vertical axis: rivets read as holes and grout lines as raised ridges. Fix it with an Invert node on the green channel, a compositor pass, the Swizzle setting at bake time, or the engine's own Flip Green Channel import option. Unity converts the green channel to its internal space automatically, so leave it alone and verify in project settings. Export data maps as PNG or EXR, never JPEG.
Pre-Bake Checklist
- UVs: no overlap, real padding, even texel density.
- Origins aligned, scale applied, normals recalculated outside.
- Shading final: hard edges marked, weighted normals applied, triangulated.
- Images: right resolution, Non-Color for normal/roughness/metallic/AO, sRGB for base color, correct node active.
- Bake: Selected to Active, right selection order, ray distance tuned one re-bake at a time, margin set.
The modeling step that produces the low poly is covered in Retopology in Blender; baking is what turns that retopologized mesh into a shippable asset. If you would rather skip the low-poly authoring, QuickPoly's models and kits ship with clean UVs and game-ready topology, so you can drop one in and bake onto it directly from the 3D model catalog.