Trim Sheets in Blender: Texture Dozens of Props With One Map
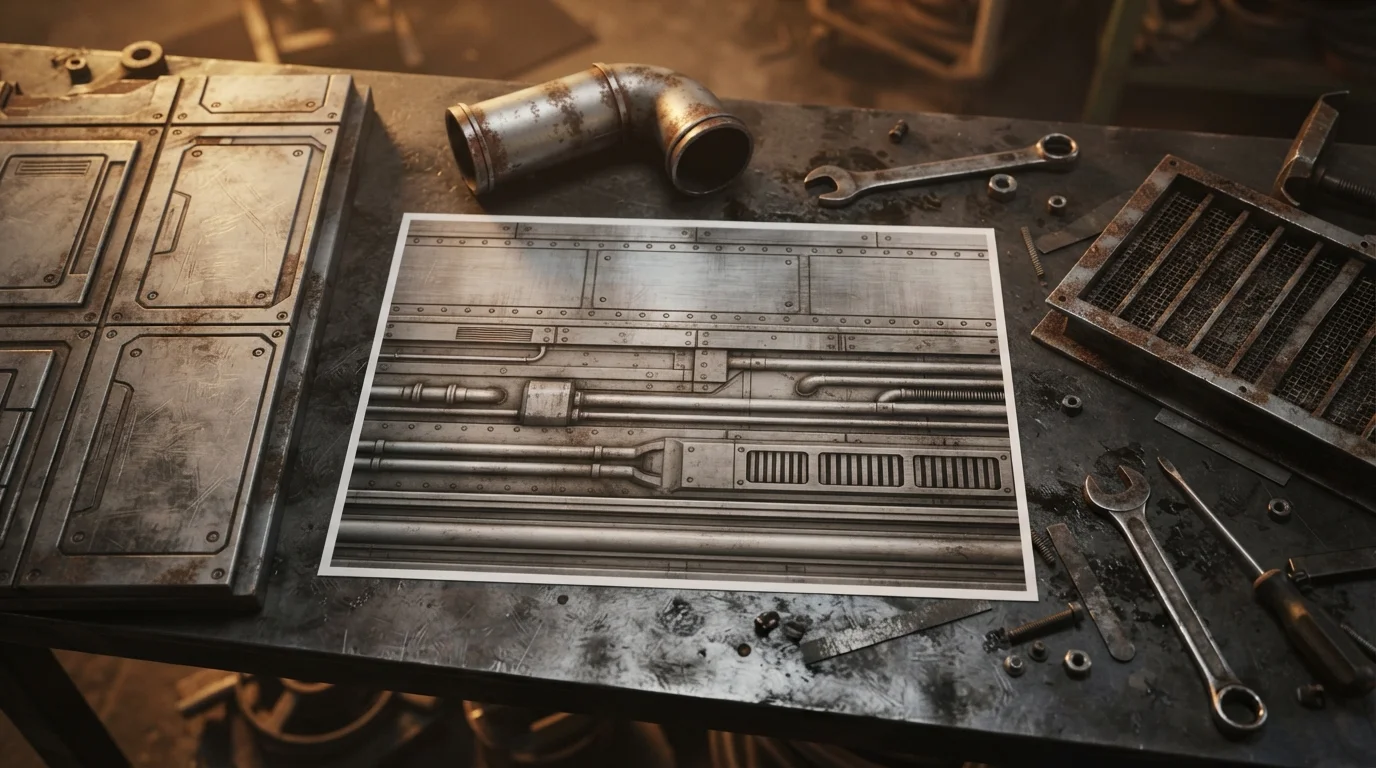
One trim sheet can replace six materials. If you have built a modular wall kit and ended up with a separate texture set for the panel, the pipe, the grate and the crate, trim sheets in Blender are the fix: one 2048 texture divided into strips of repeating detail that dozens of props sample at the same texel density.
What a Trim Sheet Is (and What It Is Not)
A trim sheet is one image built from bands. Each band is repeating detail: a panel line, a row of rivets, a pipe run, a molding profile, a vent cut. The strip repeats along U and stays inside its own band on V, and every asset samples the same bands.
Production layouts are usually hybrid: mostly tileable strips plus a small unique region inside the same UV space. A 2025 breakdown of a rusty industrial kit dressed 9 large pipes, 2 furnace vents, 15 medium and 10 small pieces from one trim sheet and one unique texture set.
An atlas is different: it packs the unique UV islands of several objects into one image, and nothing in it repeats - it is a packing trick. UDIMs go the other way, spreading one mesh across several textures (tiles 1001, 1002, 1003, with the tile number in the filename) so a large object gets more resolution, which costs texture memory instead of saving it.
Why one material beats six: one engine setup, one roughness value to change, and props that share pixels, so the kit reads as one environment.
Set Your Texel Density Before You Unwrap Anything
Texel density is texture pixels per world unit, and it decides how sharp a prop looks. Fix it before packing and you never rescale islands later.
A common benchmark for first-person interiors is 1024 pixels per meter, which is 10.24 px per centimeter - the constant density used in a published Unreal breakdown of a Victorian interior, where UVs were grouped by theme (furniture, small props, doors and windows) so each group could share a sheet. Scale up for hero assets and down for background dressing, but keep every prop in a kit on the same number.
The whole trick is one division:
- u_scale = target pixels per meter / texture width in pixels
On a 2048 sheet at 1024 px/m: u_scale = 1024 / 2048 = 0.5 UV units per world meter. One UV unit equals 2 meters, so a 4 meter wall runs U from 0 to 2, exactly two full repeats. On V the same density fits 2048 px / 1024 px per meter = 2 meters of profile in the sheet, which is 8 strips of 256 px; one 256 px strip is 0.25 m of trim height. That tells you how many strips you can afford before drawing a line.
Check it with a checker texture: the squares should keep their shape and stay roughly the same size across the model. Poly Haven's prop workflow uses the same test, plus no overlapping islands, decent spacing, and layout decided by how you plan to texture.
How to Build Trim Sheets in Blender From Strips
Model to a module and keep to it. A kit on 0.5 m increments repeats on a grid, so one strip serves a 0.5 m crate and a 4 m wall.
The operators that produce straight, rectangular islands
UV > Unwrap > Follow Active Quads is the operator for strips: it starts from the active quad and recursively attaches neighboring selected quads (non-quads are ignored), so UVs follow the geometry in rectangular rows. The catch is that the active quad's UV layout is left unchanged, so make that quad a rectangle in UV space first - unwrap just that single face - or the distortion spreads to everything else. Edge Length Mode offers Even, Length and Length Average.
For mechanical parts, Smart UV Project examines face angles, cuts along sharp edges and projects each group along its average normal; the manual calls it a good method for mechanical objects and architecture. Cube Projection projects each face onto the nearest cube side and leaves the sides overlapping, so pack afterwards. Plain Unwrap offers Angle Based, Conformal and Minimum Stretch - reach for Minimum Stretch when one strip keeps stretching.
Aligning, averaging and straightening
Align (Shift-W) with Axis set to Straighten, Straighten X or Straighten Y snaps UV vertices onto a line, which is how a band becomes a clean horizontal strip instead of a sloped one that never tiles. To land strips on real pixel rows, set Grid Shape Source to Pixel in the UV Editor Overlays, where each cell matches one image pixel.
Average Island Scale gives every island roughly the same scale, with Non-Uniform and Shear to cut stretching - the fastest way to keep density honest across props. Minimize Stretch reduces the difference between 3D and UV angles on a finished island.
Laying Out the Sheet: Packing, Zones and Padding
Pack Islands options worth knowing: Shape Method Exact Shape (Concave) uses the complete island shape and fills holes and concave regions, against Boundary Shape (Convex); Rotation Method Cardinal restricts turns to 90 degrees so strips stay axis-aligned; Merge Overlapping combines overlapping islands before packing and preserves their relative position and rotation. A sane default for a 2048 trim sheet: Merge Overlapping on, Cardinal rotation, 4 px margin as a fraction (4/2048).
Pack To lists Closest UDIM, Active UDIM, Original bounding box and Custom Region. Custom Region packs islands into arbitrary UV areas, which the manual names explicitly as reserved atlas regions and trim sheet zones. Set User Region defines the box UV operations treat as the boundary, so you lock the strip rows and later packing cannot walk islands through them. Mark the strip zones first, then pack unique pieces into the leftover space.
Margin Method Fraction is the readable form: the manual's example is Fraction = 1/1024 on a 1024x1024 texture, one pixel of margin per island. Do the arithmetic for your sheet - on 2048, 1 px is 1/2048.
Tiling Along the Trim Without Breaking It
The Image Texture node's Extension property defines what happens outside 0-1. Repeat tiles horizontally and vertically, Extend repeats the edge pixels, Clip turns the outside into transparent black, Mirror flips repeatedly. Keep it on Repeat for a trim.
The rule that makes the technique work: V stays inside the band, U is free to leave 0-1. A wall built from one strip runs U from 0 to 2 at V between, say, 0.25 and 0.375, and nothing breaks as long as V never drifts out of its row.
Pad between strips. Once mipmaps exist, filtering and mip generation sample neighboring texels, so strips with no gutter smear into each other as the texture shrinks down the chain - standard atlas behaviour, not a Blender bug. Leave a gutter of duplicated edge pixels between rows. While you are in Overlays, turn on Display Stretch (Angle or Area): blue is low distortion, red catches a band that is silently scaled.
Reusing the Sheet Across a Whole Kit
Copy UVs (Ctrl-C) stores an island's topology and UVs in an internal clipboard, and Paste UVs (Ctrl-V) matches that topology on other islands - stamp one pipe's UVs onto the other nine instead of unwrapping each. The clipboard is internal, so it does not travel between Blender instances. For symmetric kits, Copy Mirrored UV Coordinates copies UVs across the chosen mesh axis.
Five Mistakes That Show Up in the Final Render
- A strip that tiles in U but drifts across its V band, so the seam creeps diagonally.
- Islands packed with no gutter: fine in the viewport, bleeding at mip 3.
- Mixed texel density between props, so the crate looks sharper than the wall behind it.
- Directional detail baked into a trim - light from one side, a hard shadow, ambient occlusion aimed into a corner - reused at another angle.
The honest limitation: a trim sheet repeats, so anything unique (a stencilled number, asymmetric damage, a painted logo) lives in the small unique region of the sheet or keeps its own texture.
Pre-Export Checklist
- Checker pass done, squares uniform across every prop.
- Density constant: 1024 px/m on a 2048 sheet means u_scale 0.5, so 1 UV unit = 2 m and the sheet holds 8 strips of 256 px.
- V held inside the strip, U free to repeat past 0-1.
- 4 px gutters between strips, checked at the smallest mip.
- One material for the kit, Image Texture Extension set to Repeat.
- Reimport in the engine and confirm nothing shifted or bled.
If you would rather skip the unwrap, QuickPoly modular and industrial kits ship with clean UV layouts, so you can drop your own trim sheet over a set or retarget the one that comes with it.