Seamless Tileable Textures in Blender: Create, Test and Fix Visible Seams
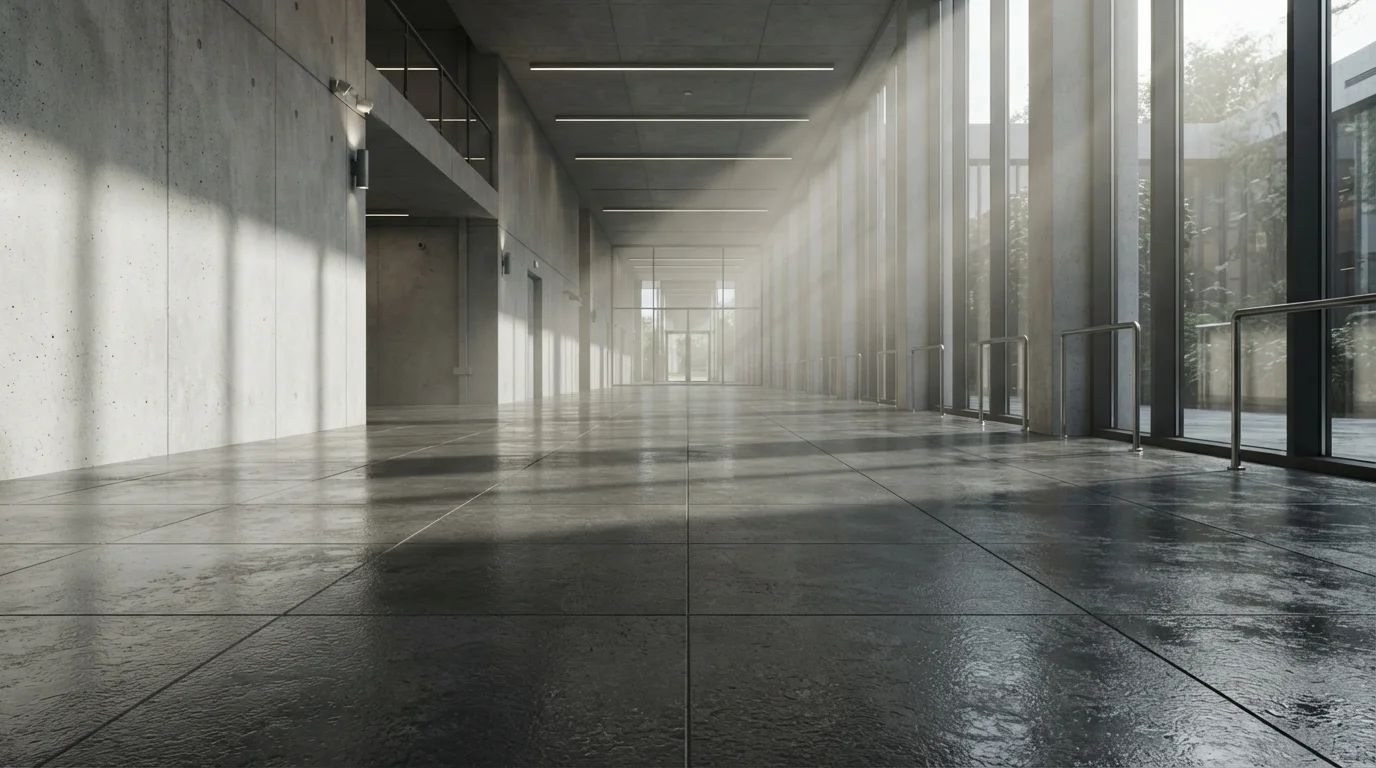
The grid stamped across your floor is a texture with seams. If you have ever rendered a floor bigger than one UV tile and seen the repeating graph-paper pattern give the game away, this guide is for you. Learning how to create seamless tileable textures in Blender is the difference between a background that disappears into the scene and one that screams "tiled". Here is the full workflow.
Why Seamless Tileable Textures in Blender Break Your Scene
Seam problems come from a small set of predictable causes, and each one has a direct fix.
Seamless vs tileable: the difference that shows up on a stadium floor
A tileable texture repeats because the engine wraps it at the UV edges. A seamless texture repeats without a visible break: the left edge flows into the right and the top into the bottom.
The five-map problem: albedo is only the start
The color map is only one map in a PBR set: normal, roughness, ambient occlusion, and metalness all have to wrap consistently too. A perfectly seamless albedo with a non-seamless normal map still renders a glowing seam line under directional light, because the normal map tells the light where the surface points.
Three culprits: uneven lighting, broken features, perspective distortion
Seams usually come from three causes, often combined:
- Uneven lighting in the source photo creates a brightness jump at the tile border.
- Surface features such as cracks or stones run off one edge without continuing on the opposite edge.
- Perspective or lens distortion stops patterns from aligning when wrapped.
Diagnose before fixing: brightness jumps need lighting fixes, broken features need wrapping strokes, distortion needs a cleaner source.
Creating a Seamless Texture in Sculpt Mode
Blender has a built-in way to make sculpted detail seamless: strokes that wrap around the mesh edges.
Plane setup and the Multiresolution modifier
Add a plane (the default is 2 m x 2 m; the wrap distance depends on those dimensions). Keep the default 0-1 UVs, add a Multiresolution modifier, and subdivide until the mesh holds high-frequency detail.
Enabling Tiling in the Symmetry panel (X/Y) and matching Tile Size to the mesh
Open the Active Tool and Workspace settings (the screwdriver-and-wrench tab or the N panel), expand Symmetry, and enable Tiling for X and Y. Set the tile size to match the mesh dimensions. The manual calls this the Tile option: it repeats strokes along the chosen axes, and Tile Offset changes the tile size.
Strokes that wrap around the edges
With tiling enabled, any stroke that exits one side of the mesh wraps around and continues from the opposite edge. Sculpt a crack or a stone as if the surface went on forever: the part of the stroke that leaves the right edge re-enters from the left.
Painting Seamless Textures in Texture Paint Mode
Sculpting handles height, but most materials need painted color and roughness too. Texture Paint mode gives you the same edge wrapping for 2D strokes.
Adding a paint slot (Base Color, Roughness, Bump)
In Texture Paint mode, add a paint slot for the channel you want: Base Color, Roughness, Bump. Each slot is an image the brush writes into, so you build the whole map set instead of painting only the albedo.
Tiling X/Y under the Active Tool Symmetry settings
Under the Active Tool settings, expand the Symmetry panel, check Tiling X and Y, and set the tiling distance to match the plane's world scale. It mirrors the sculpt workflow and is worth doing even for a test texture: it costs seconds and saves a round of seam fixing later.
Painting across the canvas boundaries
With tiling active, brush strokes wrap continuously across the seam lines. Paint a stain or a scratch that crosses the border of the plane: the stroke continues on the other side, so the feature stays whole across tiles.
Baking Height and Normal Details for the Seamless Set
The last creation step brings sculpted height and painted color together into a seamless map set.
Flat plane over the sculpt, Cycles Bake panel, Normals or Displacement
To bake the detail, place a clean flat plane directly over the sculpted mesh. In Cycles, open the Bake panel, set the bake type to Normals or Displacement, and bake: the flat plane captures the height variation underneath, and because the sculpt was made with tiling enabled, the result wraps cleanly.
Saving painted images from the Image Editor
Painted textures are saved from the Image Editor: select the image and use Image > Save As. Save every channel, not just the base color, so the PBR set stays complete. Check that every map has the same resolution and covers the same 0-1 UV space; mismatched maps cause artifacts later.
Tiling the Texture in the Shader
Once the maps are seamless, the shader has to repeat them across the surface. Two nodes control almost everything here.
Mapping node between Texture Coordinate and Image Texture
Add a Mapping node between the Texture Coordinate (UV) and Image Texture nodes, and set the Scale to your tile count. A scale of 4 x 4 repeats the texture sixteen times, usually enough to read as a real material rather than a stamp.
Image Texture Extension set to Repeat (Repeat, Extend, Clip, Mirror)
Set every Image Texture node's Extension to Repeat. The options: Repeat tiles the image, Extend repeats the edge pixels, Clip renders transparent black outside the image, and Mirror flips the image on every other tile. Use Repeat for tiling materials; Extend and Clip for decals and masks. With the Node Wrangler addon, Ctrl+Shift+T builds the full PBR rig in one shortcut: select the map files with matching names and it wires albedo, normal, and roughness into a Principled BSDF automatically.
Checking Your Work: Where Seams Actually Hide
A texture can look seamless in the viewport and still fail in the render. Test it the way a game engine will treat it.
The 2x2 tile test: corners and raking light on the normal map
Tile the finished material 2x2 in a test scene and look at two things. First, the four-corner intersection where all four tiles meet: edge misalignment shows up there first. Second, the normal map under raking light, light that grazes the surface at a low angle: it exaggerates any direction jump, so a non-seamless normal map becomes a glowing line. Fix problems upstream: patching the albedo and deriving the normal from the original photo makes the maps disagree at the edges, and the seam returns as a lighting artifact.
Seamless Is Not Enough: Breaking Up Repetition
Seamless solves the visible grid, but a second problem remains: repetition. A flawless tile repeated forty times still reads as synthetic. Fix it with a few tricks.
Avoiding the "celebrity feature" stone
Keep features homogeneous. A single high-contrast stone, crack, or stain is a "celebrity feature": the eye finds it on every tile and uses it to count the repeats.
Blending two variants with a noise mask
Create two variants and blend them with a noise mask. Where the noise is light, the first variant shows; where it is dark, the second. The boundary between variants differs per tile, so the pattern never quite repeats.
Texture bombing, stochastic tiling, and macro variation
Texture bombing, also called stochastic tiling, offsets copies of the texture at randomized positions and blends them. It costs a few shader instructions and breaks the grid completely, at the price of a slightly softer look. Layer low-frequency variation on top: a subtle tint shift or a large dirt overlay that spans many tiles hides the fact that the micro detail repeats.
Checklist
- Plane at 2 m x 2 m with default 0-1 UVs, Multiresolution added for sculpt detail.
- Tiling X and Y enabled in Sculpt mode, tile size matched to the mesh.
- Paint slots added for Base Color, Roughness, and Bump with tiling enabled.
- Sculpt and paint strokes crossing the edges, verified in the viewport.
- Normal or displacement baked in Cycles from a flat plane over the sculpt.
- Mapping node between Texture Coordinate and Image Texture, Scale set to the tile count.
- Image Texture Extension set to Repeat on every map, PBR rig built with Ctrl+Shift+T.
- 2x2 tile test passed: corners clean, normal map flat under raking light.
- Repetition broken with homogeneous features, a noise-mask variant blend, or stochastic tiling.
Seamless tileable textures in Blender are a workflow, not a single trick: wrap the sculpt, wrap the paint, bake every map together, and test at the corners. If you would rather spend the time on the scene than on the material, QuickPoly's texture and material kits ship pre-baked seamless sets with all PBR maps ready to tile.