Vertex Colors in Blender: Paint Game-Ready Assets Without Textures
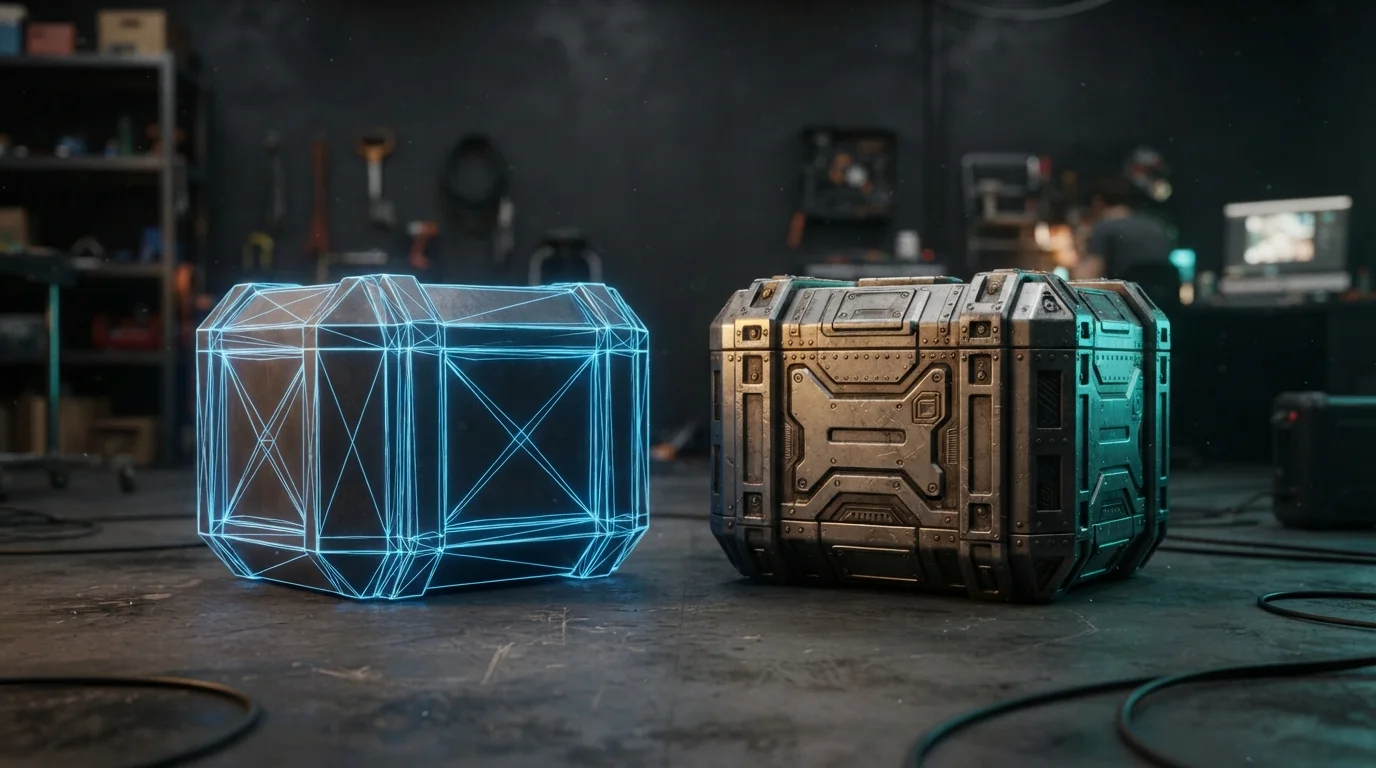
Your stylized prop ships four mask textures and 60 MB of VRAM it does not need. Vertex colors in Blender solve that differently: instead of storing color in pixels, you store it on the mesh, one value per vertex or per face corner. Paint once, export it in your glTF, and the same data drives base color, texture blends and wind masks.
Why Vertex Colors in Blender Are Worth Learning
A vertex color layer is geometry data, not image data. That explains both its power and its limits.
What a color attribute stores (per vertex vs per face corner)
A color attribute attaches color to mesh elements instead of to a texture. Two domains: Vertex, one color per vertex, and Face Corner, one per corner of each face, so a vertex can carry a different color per face touching it. Two data types: Color (RGBA, 32-bit float, linear) and Byte Color (RGBA, 8-bit positives, always sRGB). Use Color for wide-gamut or linear work, Byte Color for color you hand-paint and want to see as you mixed it.
Where vertex colors win: stylized assets, blend masks, mobile budgets
Four cases cover most production work: terrain blend weights, per-vertex wind influence for foliage, pre-baked AO on static meshes, and weathering masks on props.
The memory argument is the headline. One studio estimates a 2048x2048 texture at roughly 16 MB of GPU memory uncompressed, against roughly 60 KB for a vertex color layer on a 5,000-polygon mesh - rules of thumb, not specs. Interpolating vertex colors during rasterization also costs the GPU almost nothing.
Where they lose: high-frequency detail and wide flat faces
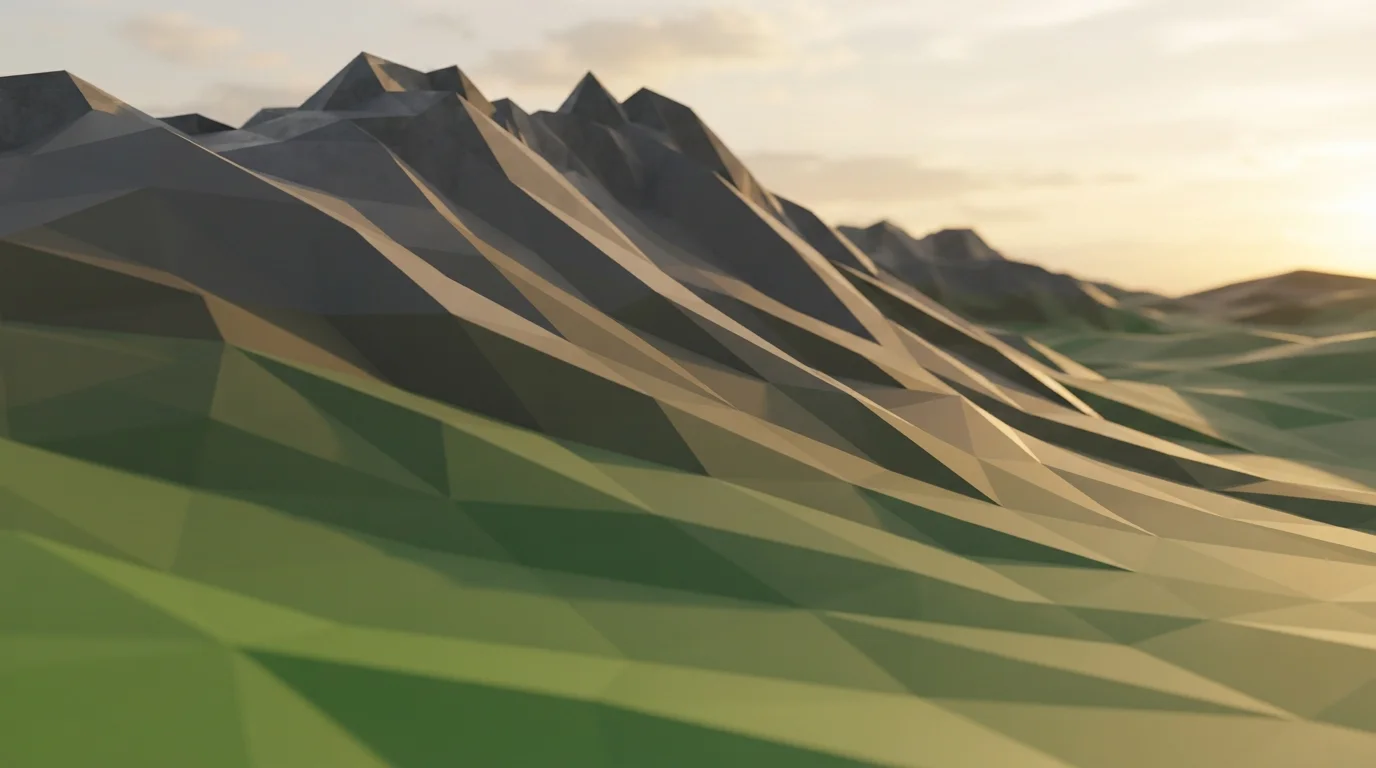
Vertex colors cannot hold detail finer than the polygon density. Surface noise, decals and lettering belong in textures. They shine on broad regions: a low-poly rock, a faceted terrain patch, a stylized prop.
Setting Up a Color Attribute Before You Paint
Vertex vs Face Corner domain: choose before the first stroke
Open Properties > Object Data (green triangle icon) > Color Attributes. The plus icon adds a layer and asks for Name, Domain, Data Type and fill color. You can change your mind later: the specials menu has Duplicate Color Attribute and Convert Color Attribute, which moves data between domains and types, so a mask painted on the wrong domain does not have to be repainted. The manual notes Vertex Paint mode paints per face corner when you enable the paint mask in the header - that is what keeps sharp color edges on low-poly assets.
Hooking it into the shader with the Color Attribute node
Add a Color Attribute node in the Shader Editor (under Input). It exposes the mesh's color attributes as Color and Alpha outputs, and its property flags in red when the named attribute is missing on the active object - common when several objects share one material. To see the paint without shading the material, set the 3D Viewport to Solid Shading and Color to Attribute.
Painting in Vertex Paint Mode
The four brush types: Paint, Blur, Average, Smear
- Paint lays down a specified color. Essentials presets: Paint Hard, Paint Soft, Paint Hard Pressure, Paint Soft Pressure, Airbrush.
- Blur smooths adjacent vertex colors. Color Value is ignored; Strength defines the blur.
- Average paints the average color under the brush.
- Smear drags colors around like finger painting - good for weathering streaks.
The operators that do the tedious work
- Set Vertex Colors (Ctrl-X) fills the active color attribute with the current paint color, with an Affect Alpha option.
- Sample Color (Shift-X) samples under the cursor; Shift-Ctrl-X samples the merged viewport color including lighting.
- Dirty Vertex Colors generates a cavity-based dirt gradient. Highlight Angle decides what counts as an edge (90 flat, 180 infinitely pointed), Dirt Angle the depth (90 flat, 0 infinitely deep), plus Blur Strength, Blur Iterations and Dirt Only. Disabling Normalize keeps results consistent across objects.
- Smooth Vertex Colors, plus Invert, Levels, Hue/Saturation/Value and Brightness/Contrast.
- Vertex Color from Weight turns the active vertex group weight into grayscale, making a weight-painted mask paintable.
Painting Dense Meshes Without Losing the Paint
Below a few thousand vertices, Vertex Paint mode is fine; above that, Sculpt mode paint brushes handle high vertex counts better and write to the same attribute. Blender 5.2 also added 3D brush cursors to vertex and weight paint.
That release matters for remeshing workflows: the voxel remesher now interpolates vertex and corner attributes instead of sampling the nearest point in the original mesh. Repeated remeshing used to chew your paint apart. Now it survives it.
Using Vertex Colors as Masks: Four Channels, Four Controls
Because the attribute is RGBA, you get four independent grayscale layers for the price of one:
- R - texture blend factor, grass to dirt, clean to rusted
- G - roughness or ambient occlusion
- B - wetness or emissive intensity
- A - wind influence or opacity
Wire the Color Attribute node into the Factor input of a Mix node and R drives the blend between two textures: a terrain patch reading grass-to-dirt from R, with AO in G and no extra textures.
Color space matters: hand-painted color reads correctly as Byte Color (sRGB), while a numeric mask a shader reads as data should be Color (float, linear). Confirm what your engine expects before shipping.
You can also bake into the attribute: Render > Bake targets the Active Color Attribute layer on the active mesh, which needs a UV map and a Color Attribute or Image Texture node as the target. Pre-baked AO on static props that never see dynamic shadows is the classic use. To reuse a mask across a kit, use Object > Link/Transfer Data > Transfer Mesh Data with Data Type Colors; Mix Modes are Replace, Above Threshold, Below Threshold, Mix, Add, Subtract and Multiply with a Mix Factor.
Exporting Vertex Colors to glTF, Unreal, Unity and Godot
glTF: the "Use Vertex Color" setting and the vanishing-colors trap
The exporter sits under Data > Mesh > Vertex Color. Use Vertex Color takes four values: Material (default, exports only when the attribute feeds the material tree as a Base Color multiplier), Active (even when unused), Name (under a given name) and None, plus Export all vertex colors (extra layers become COLOR_1, COLOR_2) and Export active vertex color when no material. If the material does not reference the attribute, the exporter warns it will not be exported - the top reason people think vertex colors do not work in glTF.
One trap on multi-material meshes: since Blender 4.1 the exporter assembles COLOR_0 to match Blender's material appearance rather than dumping the attribute as-is, and 5.2 has an open report of vertex colors exporting as constant white for some materials. Reimport the GLB and check every primitive before shipping, or bake the paint into a texture.
FBX into Unreal
The FBX importer exposes a Vertex Color Import Option. Enabled, vertex colors on the existing mesh are replaced by the FBX ones; disabled, colors painted in the editor with Mesh Paint survive. Vertex Override Color supplies the color when the option is set to Override. In the Material Editor a VertexColor node must feed the graph - the default Lit material ignores vertex color.
Unity
Mesh.colors and Mesh.colors32 hold the data, and the editor's mesh visualizations include a Vertex Color view that shows it independently of materials. Stock URP and HDRP Lit shaders do not sample vertex color, so drive them from a Shader Graph (Vertex Color node, Input > Geometry) or a custom shader.
Godot
BaseMaterial3D gives you vertex_color_use_as_albedo and vertex_color_is_srgb. That second flag decides whether painted colors look washed out or right: when true, vertex colors are treated as nonlinear sRGB and converted to linear for rendering; when false, they render as-is. Match it to the data type you painted in.
Common Mistakes and a Pre-Export Checklist
- Reimport the exported file and inspect the mesh. On multi-material meshes, check every primitive, not just the first.
- Set Use Vertex Color deliberately - Material is strict; pick Active or Name when the material does not multiply the attribute into Base Color.
- Match data type to purpose: Byte Color for painted color, Color for numeric masks.
- Check the engine flag. A shader that never reads the attribute renders flat grey, and no export setting fixes that.
- Keep the mask on the face corner domain if you get soft color bleed on low-poly edges.
- Know when to stop. If the asset needs fine detail, bake to a texture. Vertex colors are for broad regions, blends and masks.
A stylized kit painted this way repaints its palette in minutes: changing a color means brushing an attribute instead of re-baking a texture set. If you want assets that already ship with color attributes set up, the stylized and game-ready models in the QuickPoly catalog are built for that workflow.