Retopology in Blender: Turn a Dense Sculpt Into a Game-Ready Mesh
Retopology in Blender: When You Actually Need It
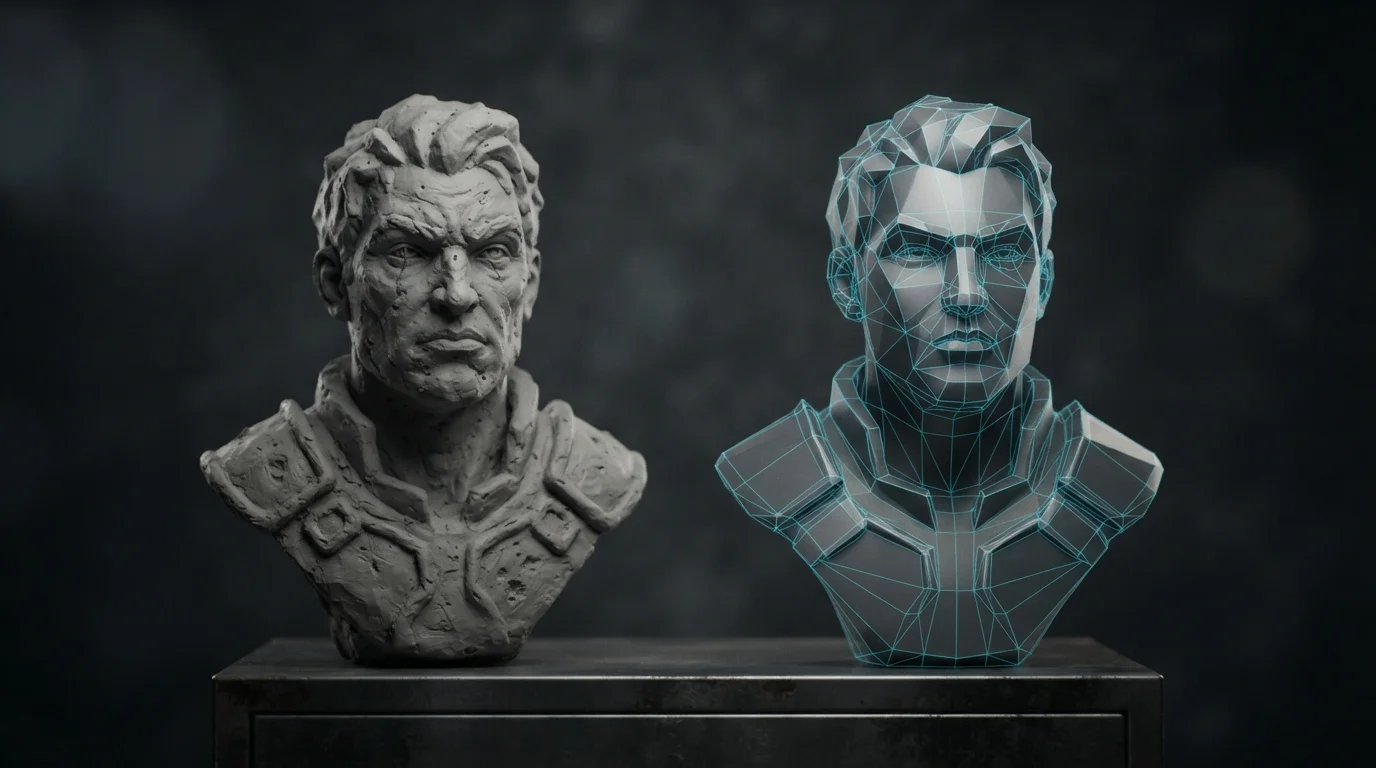
Retopology in Blender means building a new, low-polygon mesh over a dense sculpt and adjusting it until it fully covers and matches the original. The manual is blunt about why: Blender's automatic remesh tools "generally don't result in topology that lends itself to deformation". The problem is not face count, it is edge flow. Everything below is Blender 5.2.2 LTS, the current production build.
Automatic remesh is enough for static props
If the asset never bends - a rock, a crate, a wall panel - run Voxel remesh and stop. It grids the mesh in 3D, keeps the points closest to the surface and rebuilds a manifold mesh with no self-intersections. Keep Adaptivity at 0, because any value above zero disables Fix Poles and can introduce triangulation, and enable Preserve Volume. For quads, Quadriflow gives better results, runs slower and does not clean up intersecting geometry. Remeshing reads the original mesh data only (it ignores modifiers and shape keys), and it cannot run on an object with a Multiresolution modifier.
Deforming meshes and strict budgets are the manual cases
Characters, creatures, anything rigged: manual retopology. Budget hours on a hero asset against minutes for an automatic pass that still needs cleanup. You can animate an unretopologized sculpt, but expect bad deformations and shading artifacts.
Retopology is not decimation
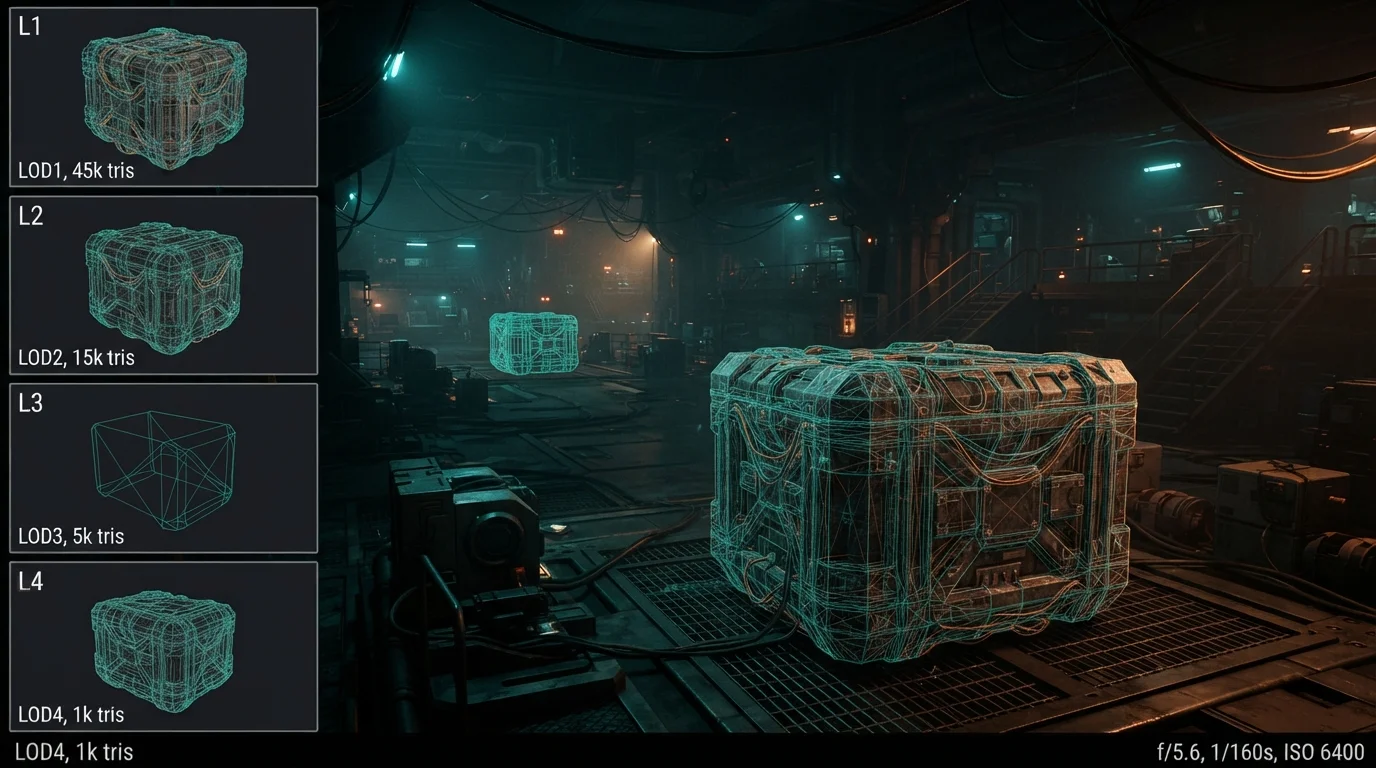
Decimate lowers the face count of geometry you already have; retopology builds new geometry with a layout you control. If the issue is "too many triangles", read our LOD guide instead.
Set the Triangle Budget Before You Build Anything
Platform targets: 1K-5K, 10K-40K, hero characters
Retopologizing toward a polycount you never measured is the classic trap: set the budget first, then build down to it. Starting ranges from a 2026 retopology guide: stylized mobile characters at 1K-5K triangles, stylized PC and console characters at 10K-40K, hero characters far higher. Measure the total triangles visible in a frame, not one asset alone: a 15K character is fine in an empty room and expensive in a crowd.
Prepare the Sculpt So the Retopo Does Not Drift
Apply the scale first (Ctrl+A)
Shrinkwrap works in world space, so do Ctrl+A > Apply Scale on the sculpt before you draw a quad. A non-applied scale becomes drift that only appears after export. Also apply modifiers and set Object > Set Origin > Origin to Geometry.
Merge by Distance, non-manifold check, Dyntopo off
- Mesh > Merge by Distance to remove doubles.
- Select > Select All by Trait > Non Manifold to catch holes and stray faces.
- Dyntopo off. The high poly is a reference mesh; it never ships.
The Shrinkwrap Rig Under Your Mesh
Project mode: Limit, Negative + Positive, Face Cull
Add Shrinkwrap to the new mesh, target the sculpt and set Wrap Method to Project: vertices are pushed along a chosen Axis until they hit the target, and ones that never touch stay put. Enable Negative and Positive together so the closest hit wins, use Limit as the maximum distance, and turn on Face Cull so nothing lands on the back of the target. The other methods - Nearest Surface Point, Nearest Vertex and Target Normal Project - are smoother and significantly slower. Keep the modifier live while you build, apply it at the end.
Snap Target Face Project vs Face Nearest
With Snap Target set to Face, snapping moves to the surface under the cursor - the manual calls this "useful for retopologizing". For individual elements, Face Project projects each vertex along the current viewing direction, which bends a flat sheet onto a curved surface; Face Nearest snaps to the closest face and can also reach occluded geometry. Toggle it with Shift+Tab, or hold Ctrl for a temporary snap. Target Selection also offers Align Rotation to Target and Face Nearest Steps.
The Retopology overlay and its Offset setting
In 3D Viewport Overlays > Shading, the Retopology overlay makes the edited mesh see-through so the sculpt shows underneath and can draw it in front of nearby geometry; Offset moves it toward the camera. It replaces the X-Ray plus In Front hack, without the see-through-backside problem of X-Ray.
Building the Cage With Poly Build
Divide and conquer: build a topology cage first, fill the interior second.
Ctrl-LMB, Shift-LMB, Create Quads, Auto Merge
Poly Build sits in the Edit Mode toolbar and combines several tools:
- Ctrl-LMB adds a vertex and builds a triangle with the nearest existing edge; if that edge already has two neighbouring faces, it creates an edge to the nearest existing vertex instead (blue preview while you hold Ctrl).
- Shift-LMB dissolves the vertex or deletes the face under the cursor, highlighted red.
- LMB drag moves a vertex or extrudes an edge into a quad.
- Create Quads dissolves the shared edge when a new triangle would sit next to an existing face, leaving a quad.
Turn on Snapping and Auto Merge while you tweak vertices. Block the loops around shoulders, hips, spine and joints, then fill what remains with Grid Fill. Keep Mirror for symmetry and a Subdivision Surface modifier live so you judge the smooth result, not the faceted cage. Shortcuts that save the most time: Ctrl+R, F, E, G and Shift+Tab.
Edge Flow Rules That Survive Animation
Loops around eyes, mouth, elbows and knees (minimum counts)
Rules of thumb from a game-art workflow guide:
- Knee or elbow: at least 3 loops in the joint area, parallel to the bend, not radial.
- Shoulder: 4 loops.
- Ankle: 2 loops, plus one on the Achilles side.
- Finger knuckle: 2 loops, one per phalanx boundary.
- Spine: 4-6 loops per segment, evenly spaced so squash and stretch behave.
Use concentric rings around the eye socket and circular loops tracking the mouth. Add a holding loop about one edge-width out at each joint to avoid the candy-wrapper twist, and let loops follow muscle groups, not just surface form.
Poles: keep the 5-poles out of the bend zone
A pole is a vertex where 3 or 5 edges meet. They are unavoidable, so place them deliberately: a 5-pole on a cheek is fine, one at the corner of a knee pinches catastrophically. Spend triangles where the mesh bends, and leave flat areas cheap.
Free vs Paid: PolyQuilt, RetopoFlow and the Rest
Poly Build, snapping, Shrinkwrap and QuadriFlow cover most manual work with no add-on installed.
PolyQuilt: free, mouse-driven, 167K downloads
PolyQuilt is a fork of Sakana3's original by Dan-Gry on extensions.blender.org: version 1.46.8 (22 August 2026), 167,123 downloads, GPL-3.0, Blender 4.5 LTS and newer, mouse-driven in the spirit of RetopoFlow and Maya's Quad Draw. Caveat: it works best on the OpenGL backend; Vulkan and Metal are not officially supported yet.
RetopoFlow 4: Edit Mode integration, Contours, PolyStrips, Relax
RetopoFlow 4 by Orange Turbine (the CG Cookie team) puts its tools directly inside Edit Mode, non-blocking, and it also works on curves, NURBS, metaballs and text. Contours wraps a loop around any cylindrical form with a Ctrl+LMB drag (scroll sets the vertex count) and walks it around the mesh instead of shrink-wrapping, so it survives overlapping fingers; PolyStrips bridges sketched strips into existing geometry; then Strokes, PolyPen, Relax (sculpt-style even spacing that keeps vertices snapped to the high poly) and Tweak. Patches is still to be ported from version 3, and 4.1.5 added Auto-Save, because Blender does not auto-save in Edit Mode. It needs Blender 4.2+, version 3 support ends October 2027, and it sells as a paid add-on on Superhive - check the listing price on the day you buy.
Cleanup, Bake and Handoff
Merge by Distance, n-gons, normals, UV names
Merge by Distance again, triangulate the n-gons that will deform with Ctrl+F > Triangulate, recalculate normals, and check that UV map names match the engine convention; UV names and texel density are covered in our trim sheet guide.
Selected to Active bake
Select the low poly, then the high poly with it, and bake with Selected to Active to capture the sculpt into a normal map. The full setup, and how to choose between normal, bump and displacement, is in our detail map guide.
Pre-Export Checklist
- Triangle count matches the budget, measured with the whole scene visible.
- Transform applied (Ctrl+A > Apply Scale), no negative scale.
- Shrinkwrap, Mirror and Subdivision Surface applied or deliberately removed.
- At least 3 loops on knees and elbows, 4 on shoulders, 2 per finger knuckle.
- UV maps named to the engine convention, texel density consistent.
That is the whole loop: decide auto or manual, set the budget, prep the sculpt, rig the Shrinkwrap, build the cage, respect edge flow, then clean and bake. If you would rather skip the hours, QuickPoly's 3D model catalog ships models and kits with finished topology and clean UVs.