Kitbashing in Blender: Build Sci-Fi Props From Modular Parts in Minutes
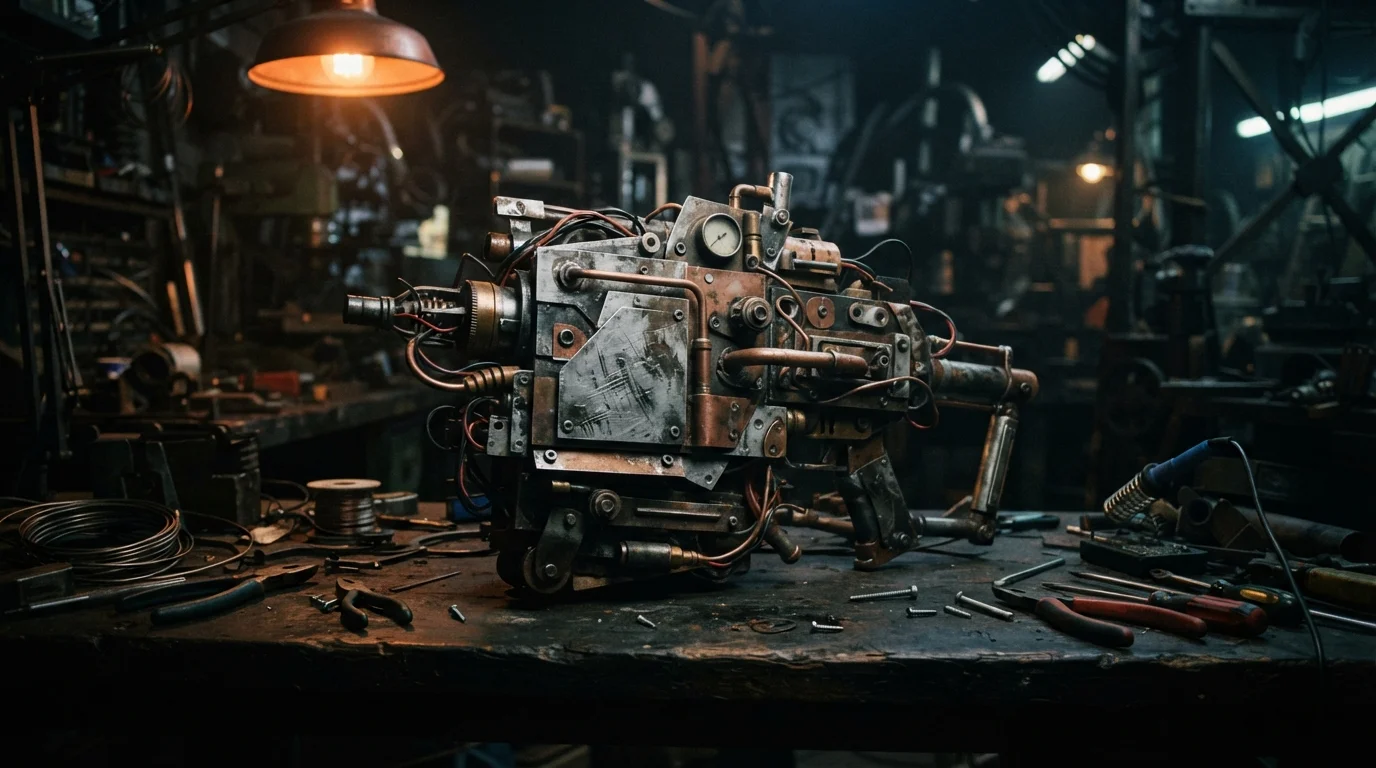
Kitbashing Blender scenes is the closest thing to a cheat code for hard-surface artists. Building a sci-fi prop by hand can swallow an afternoon of modeling, and kitbashing turns that same task into a few minutes of assembly. The idea is simple: instead of modeling every panel, pipe and greeble from scratch, you snap pre-built modular parts together like a physical kit model. A small library of parts becomes an endless supply of ships, machines and armor, and you can iterate on a design almost as fast as you can think of it. Here is the complete workflow, from building your kit library to joining the finished prop.
What Kitbashing Is and Why It Works
At its core, kitbashing merges pre-made parts from a library of assets into complex shapes. It saves serious time and makes rapid prototyping realistic, which is why concept artists and hard-surface modelers have used the approach for decades. Instead of committing hours to one silhouette, you try three or four in minutes.
From Concept Art to Prop Design in Minutes
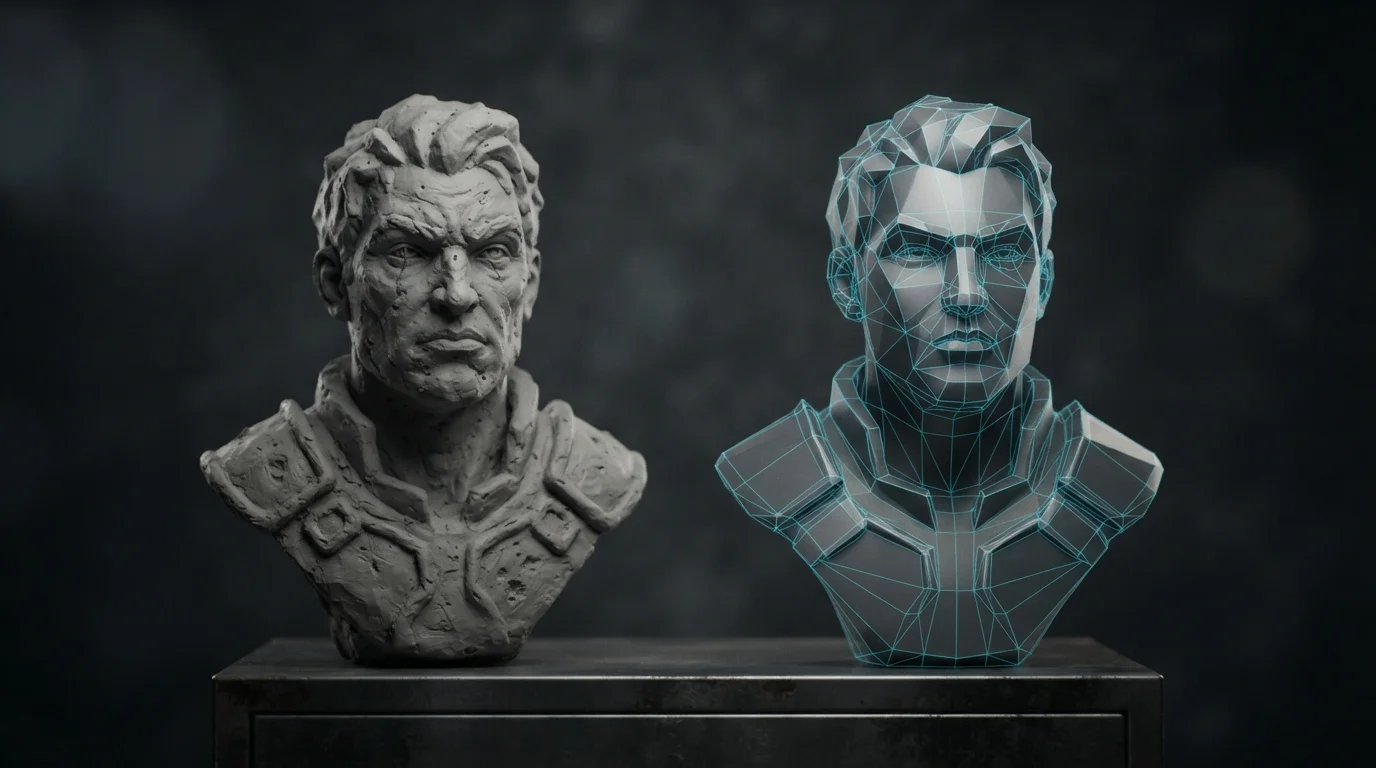
The payoff is a before-and-after mindset: hours of careful modeling versus minutes of assembly. You build the broad silhouette from big chunks, refine it with smaller parts, then break up the surfaces with tiny greebles that make everything read as believable machinery. By the end you have a prop that looks deliberately designed, not stitched together.
Kitbashing Blender Assets: Build Your Kit Library First
Your kit library is the raw material for everything else, so start there. The more organized it is, the faster you will work.
Organizing Parts in the Asset Browser
The Asset Browser is the home of your kit components. Mark your parts as assets, tag them, and drag and drop them straight into the workspace when you need them. Group your library into logical families, like pipes, panels, vents and greebles, so you can pull the right piece without hunting.
Append vs Link: Editable Copies or Lightweight Instances
When you bring parts into a scene, you have two options. File > Append creates editable copies that you can reshape freely; Link creates instances that stay lightweight and share a single source, which is the better choice when you are populating a large scene. Use Append for pieces you plan to modify, Link for everything you just want to place.
Snapping Parts Together
With your library open, the real assembly begins. Snapping is what makes parts click into alignment instead of floating awkwardly.
Shift+Tab Magnet and Snap Targets
Press Shift+Tab to toggle the magnet on and off. Then use Ctrl+Tab to switch between vertex, edge and face snap targets, depending on how you want the parts to grip each other. Snap edges to edges for clean connections, or snap faces to faces for flush surfaces.
Ctrl+J to Join What You Build
Once a cluster of parts sits where you want it, select it all and press Ctrl+J to join the selected objects into a single mesh. This is the standard step after placing a set of parts, and it keeps your outliner clean as the prop grows.
Booleans: The Kitbasher's Workhorse
Snapping gets you most of the way, but the Boolean modifier is what really fuses parts together into one believable object.
Union, Difference and Intersect
The Boolean modifier offers three operations. Union merges two objects into one solid, Difference subtracts one object from another, and Intersect keeps only the overlapping volume. The typical move is to position a secondary object so it intersects or subtracts from the primary one, then Apply to lock the result into the mesh.
Stacking Booleans and Applying in the Right Order
You can stack multiple booleans on a single object, and the order matters. Work from the largest shapes down to the smallest details, and apply each boolean before moving on so the operations behave predictably. A little planning here saves you from chaotic, tangled geometry.
Keeping Topology Usable
A kitbasher's worst enemy is a boolean that destroys your mesh with messy intersections. Two habits keep things clean.
Ctrl+A Before Booleans, Bevel After
Before you run any boolean, select the object and press Ctrl+A to apply all transforms. This makes the operation behave predictably instead of producing warped results. After the boolean, add Bevel and Subdivision Surface modifiers to soften and clean up the edges where parts were cut together.
Loop Cuts and Merges for Cleanup
Loop cuts, added with Ctrl+R, let you add edge rings where you need more detail, and merging stray vertices with Alt+M cleans up stray points. To work faster, Shift+L selects all linked geometry so you can grab an entire connected piece at once and fix it as a unit.
Duplicates, Arrays and Mirrors
Symmetry is a gift for hard-surface work, and Blender makes it cheap. Press Shift+D to duplicate a part, use the Array modifier to repeat a part along a line for runs of pipes or vents, and the Mirror modifier to duplicate geometry across an axis so both sides of a ship or weapon match instantly. These multiply your kit library without manual rework.
Where to Find (and Sell) Kit Parts
You can start kitbashing today with what you already have, but a dedicated kit pack accelerates everything. Dedicated sci-fi kitbash packs sell on Superhive, formerly Blender Market, as well as Fab and Gumroad; typical packs offer around 120 unique objects with more than 1500 parts for about $15, and larger multi-part kits go up from there. If you want a free starting point, the Hardflow extension on extensions.blender.org is GPLv3 and works with Blender 4.2+, covering the full hard-surface loop with draw-to-cut booleans, precision snapping, decals and kitbash assets. The official Blender Boolean modifier docs are worth a read before you start stacking operations.
Checklist
- Kit library organized and tagged in the Asset Browser
- Append for editable parts, Link for lightweight instances
- Shift+Tab magnet on, Ctrl+Tab snap target chosen
- Ctrl+J joins placed part clusters
- Ctrl+A applied before booleans
- Union, Difference and Intersect used in the right order
- Bevel and Subdivision Surface clean the edges
- Ctrl+R loop cuts, Alt+M merges for cleanup
- Shift+D, Array and Mirror used for repetition and symmetry
Once the technique clicks, you will wonder why you ever modeled props the slow way. And when you want a head start, the modular scene and model packs in the QuickPoly shop drop straight into your Asset Browser, so you can spend your time designing instead of digging for parts.