How to Model a Low Poly Character in Blender: From Blockout to Game-Ready

Modeling a low poly character Blender project is the fastest way to go from a blank viewport to a finished, game-ready asset, and it all starts with a single cube. If you are new to 3D, this style is ideal because it strips away the pressure of realistic detail and lets you focus on silhouette, proportion and clean topology. You will block out a body from primitives, mirror it so both sides stay identical, keep the mesh clean where joints bend, and end up with a character that is genuinely ready for texturing and rigging. Here is the complete workflow, from blockout to game-ready.
Why a Low Poly Character Blender Project Is a Great First Project
A low poly character Blender project is one of the most rewarding things a beginner can tackle because the definition of "low poly" gives you permission to simplify. Instead of chasing thousands of micro-details, you build a recognizable figure from a deliberately small number of vertices and flat or near-flat surfaces.
Style over raw geometry: what "low poly" really means
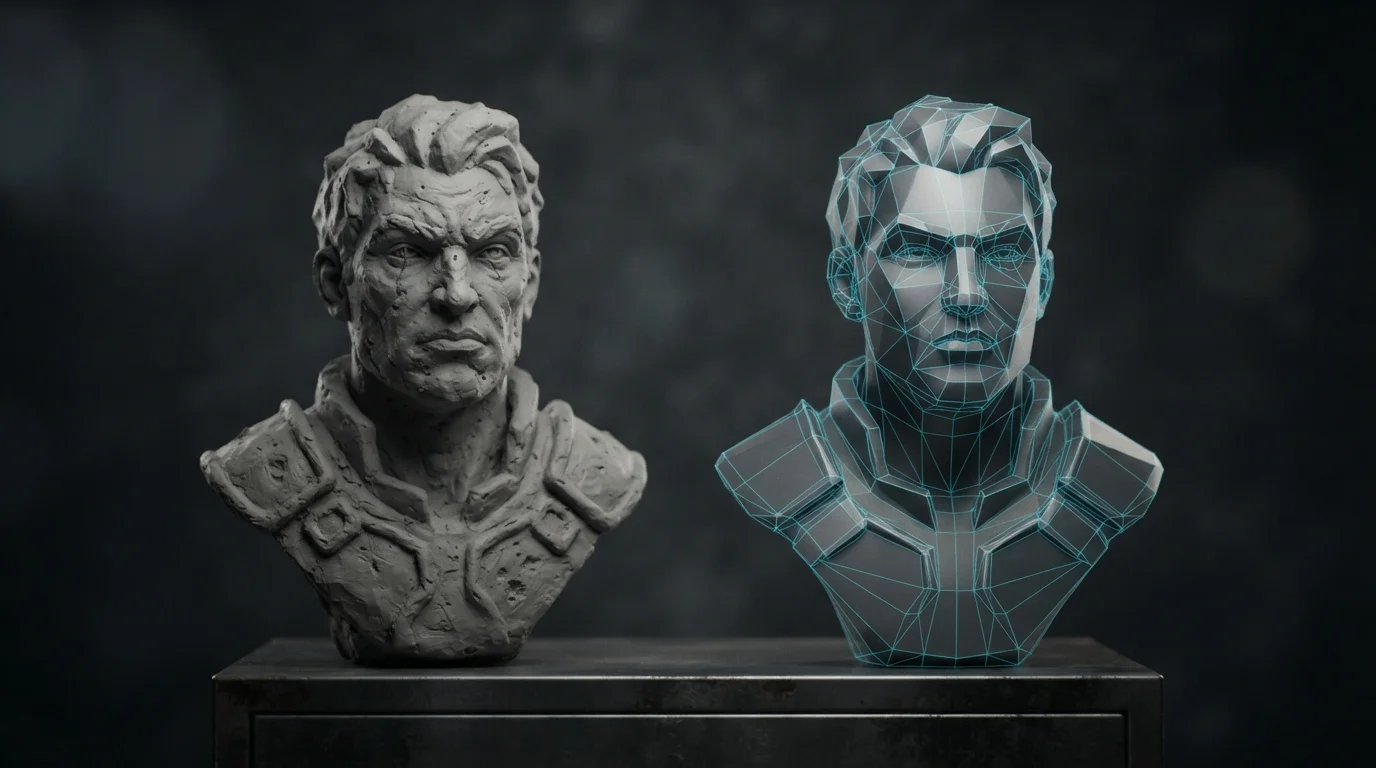
Low poly is a design choice, not an accident. It means you deliberately keep the vertex count low and rely on readable shapes and strong silhouettes instead of surface detail. That trade-off is exactly why beginners finish: the skill you need is more about deciding where to place edges than about sculpting photorealism. You will produce a full character in a single sitting rather than a torso that is half done.
Set Up: Reference Images and the Blockout
Before touching the model, set your scene up so you are never guessing. Two things make the whole process dramatically faster: reference images and a primitive blockout.
Import references as background images
Load front and side views of your reference into the viewport as background images so you can match proportions as you build. In the Object Data properties for an empty, or directly on the camera view, you can place a reference plane and scale it to line up with your grid. It sounds minor, but a good reference keeps your head, torso, arms and legs in proportion from minute one.
Blockout with primitives: cube, cylinder, sphere
Resist the urge to model detail too early. Start with a cube for the torso, a sphere for the head, and cylinders for the arms and legs. Position and scale these to nail the overall stance and body shape. This rough silhouette is your guide: if the proportions look right at the blockout stage, they will look right after you add geometry.
Mirror and Build the Body
Now you can start shaping the actual mesh.
Mirror modifier and symmetry
Add a Mirror modifier to your base mesh and Blender duplicates everything you do across the X axis automatically. That halves your modeling work and guarantees perfect symmetry. Keep the mirror on for most of the build, then apply it only when you are confident the shape is final and you want the geometry as real, editable mesh on both sides.
Extrude, loop cuts and edge loops for the torso, arms and legs
With the mirror active, extrude (E) faces to pull out the arms and legs from the torso instead of modeling them as separate pieces. Use loop cuts (Ctrl+R) to add edge loops where you need extra definition, such as the waist, knees and elbows. The idea is to add geometry only where the shape requires it, so your character reads clearly without bloating the triangle count.
Keep Topology Clean Where It Counts
Good topology on a low poly character Blender project is not about perfection everywhere. It is about putting clean geometry exactly where it matters.
Quads in deformation zones (shoulders, knees, elbows)
Areas that bend during animation, like shoulders, elbows and knees, should be built from quads arranged in clean loops. When the mesh deforms, those loops let the surface bend predictably instead of pinching. Spend your care here, where it is invisible but essential, and you will save hours later when you rig the character.
Why triangles are acceptable on low poly game assets
You do not need to eliminate triangles entirely. On low poly game assets, reducing the overall vertex count is often more valuable than maintaining a pure quad flow. Triangles are perfectly acceptable in flat areas that never deform. The practical rule is simple: keep quads where joints bend, and do not stress about the occasional triangle elsewhere.
Shading and Finishing
Once the shape and topology feel right, the shading settings do a surprising amount of the visual work.
Shade Smooth + Auto Smooth vs flat shading
A low poly mesh can look either crisp or faceted depending on how you shade it. Flat shading gives every face a hard, stylized edge, which suits an angular cartoon look. Shade Smooth with Auto Smooth keeps faces visually smooth while respecting sharp angle limits, giving a softer stylized result. Try both and pick the one that matches the mood you are going for.
Bevel for the stylized look
A subtle Bevel on the key outer edges of your character softens harsh silhouettes and catches light in a way that reads as intentional and polished. You do not need it on every edge, just the main outlines. It is one of the quickest ways to push a raw blockout toward a finished, stylized look.
Triangle Budgets and Optimization
Game engines care about triangle counts, so it helps to know your budget.
Typical budgets for indie and mobile characters
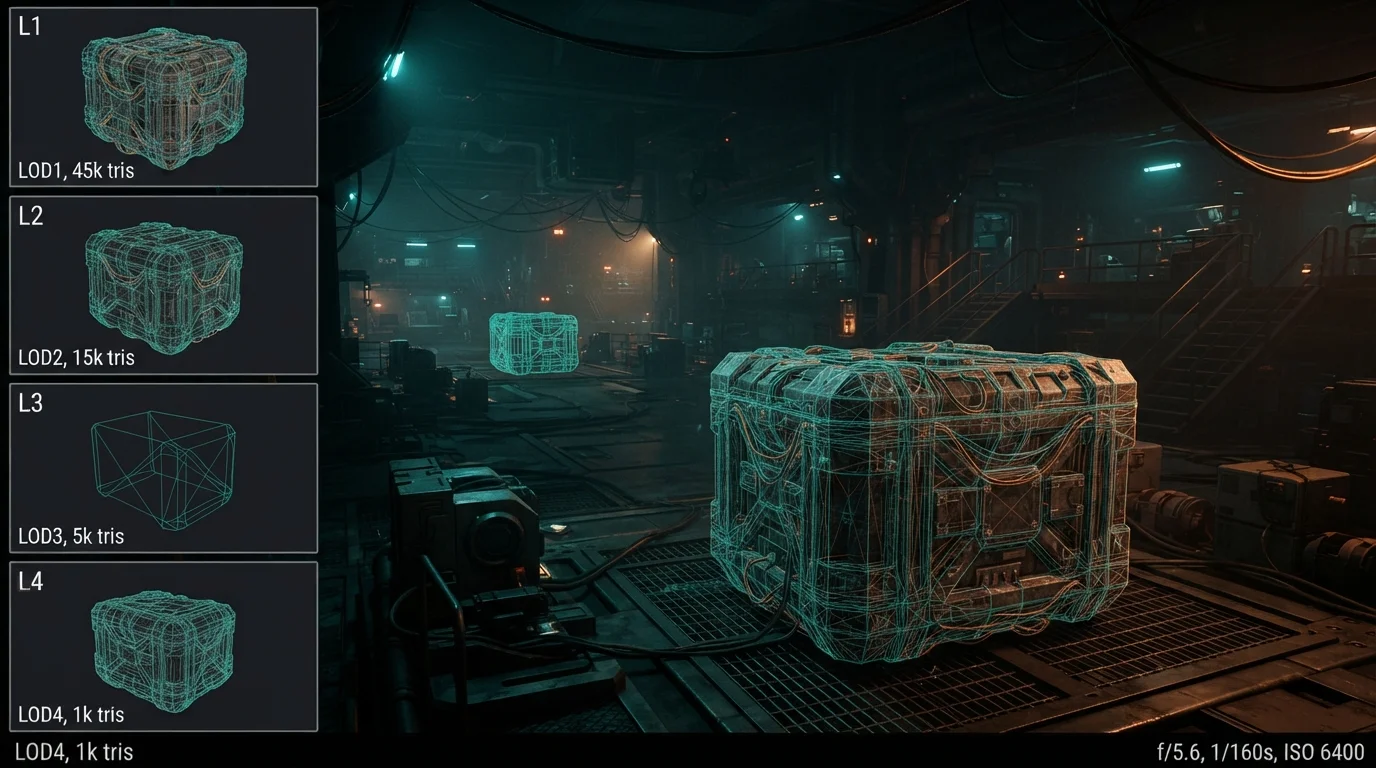
As practical industry guidance, low poly characters typically land in the range of about 1,000 to 10,000 triangles, with stylized heroes often sitting between 3,000 and 8,000. Think of this as a target, not a hard spec. For an indie or mobile title, staying lean matters more than matching any exact number, so use your character's intended use to decide how much detail is worth adding.
What Comes Next: Texturing and Rigging
Your character is modeled and shaded, but it is not finished until it is colored and posed.
Flat colors and small textures
Keep the style consistent with flat colors, a limited palette, and small hand-painted textures at 256x256 or 512x512 resolution. These small textures hold up beautifully on low poly surfaces and keep the look clean and readable from a distance.
Rigging low poly characters (armature, auto weights)
The natural next step is rigging. Add an armature, place bones in the head, spine, arms and legs, and use automatic weights to bind the mesh. Low poly characters are easy to rig precisely because the geometry is simple, and a basic armature will let you pose and animate your character without headaches.
Checklist
Before you call your character game-ready, run through this list:
- Reference images are in place and the silhouette looks right
- Mirror modifier applied only after the shape is final
- Quads are clean around shoulders, knees and elbows
- Triangle count sits within your target budget
- Shading and a subtle bevel give the intended stylized look
- Flat colors or a small 256x256 or 512x512 texture are applied
- Armature bones are placed and auto weights bind cleanly
The whole point of this workflow is that you finish. If you would rather skip straight to a polished result, the ready-made low poly models and character assets in the quickpoly shop are designed to drop straight into Blender so you can spend your time on texturing, rigging and animation instead of the blockout grind.