Bump, Normal or Displacement? Pick the Right Detail Map in Blender
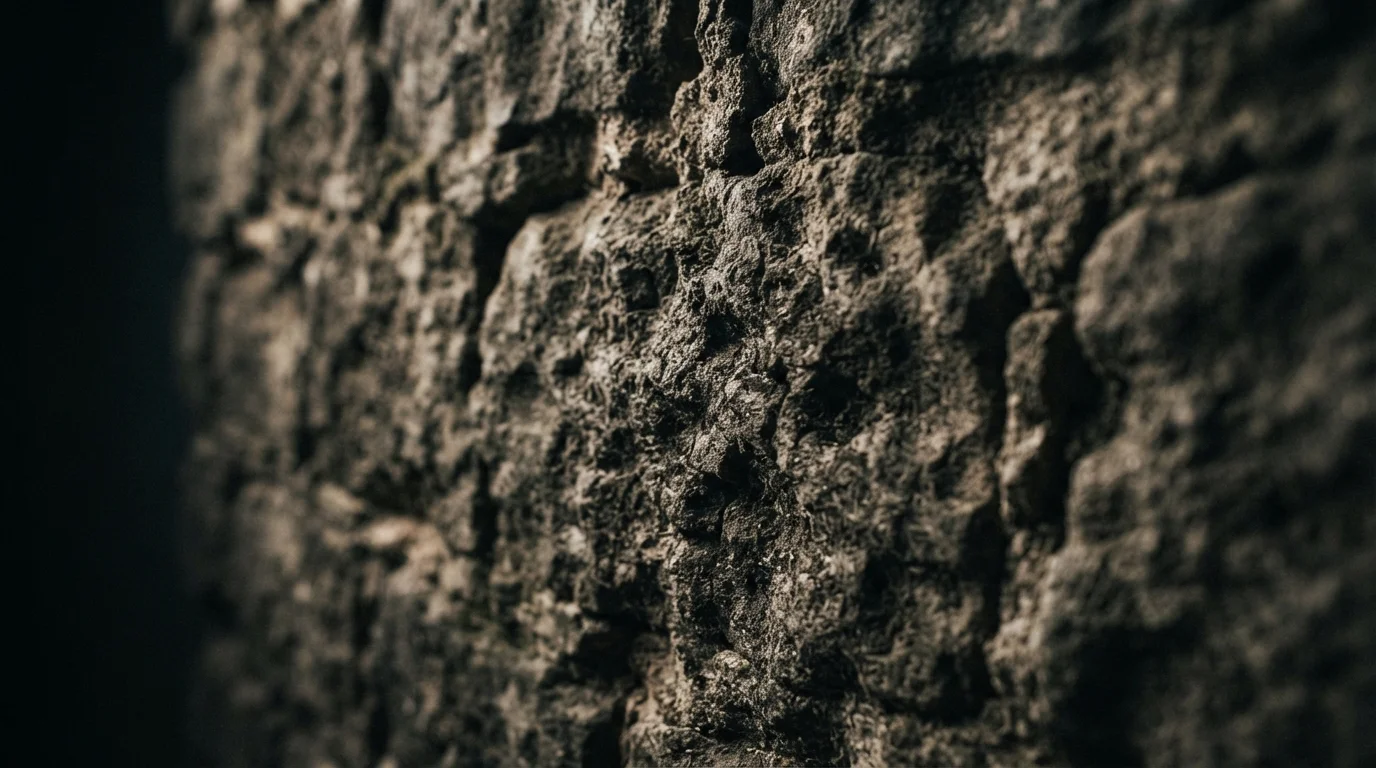
Sooner or later every Blender user hits the same moment: you load a PBR asset pack, plug in the maps, and the surface still looks flat, or the detail looks wrong, or the render suddenly gets heavy. The usual cause is reaching for the wrong map type. The classic "bump vs normal map Blender" debate is really a question of how much of your geometry is real, how much is faked in the shading, and how much render time and memory you can afford to burn. Once you understand what each map actually does, you will stop guessing and start picking the right tool for every material.
Why Detail Maps Exist (and What "Fake" Means)
Every surface you render is a trade-off between mesh density and shading tricks. A wall with a million bricks carved into the actual geometry is expensive to build, slow to render, and painful to clean up. Detail maps exist to get visual complexity without paying for real geometry everywhere.
Shading tricks vs real geometry
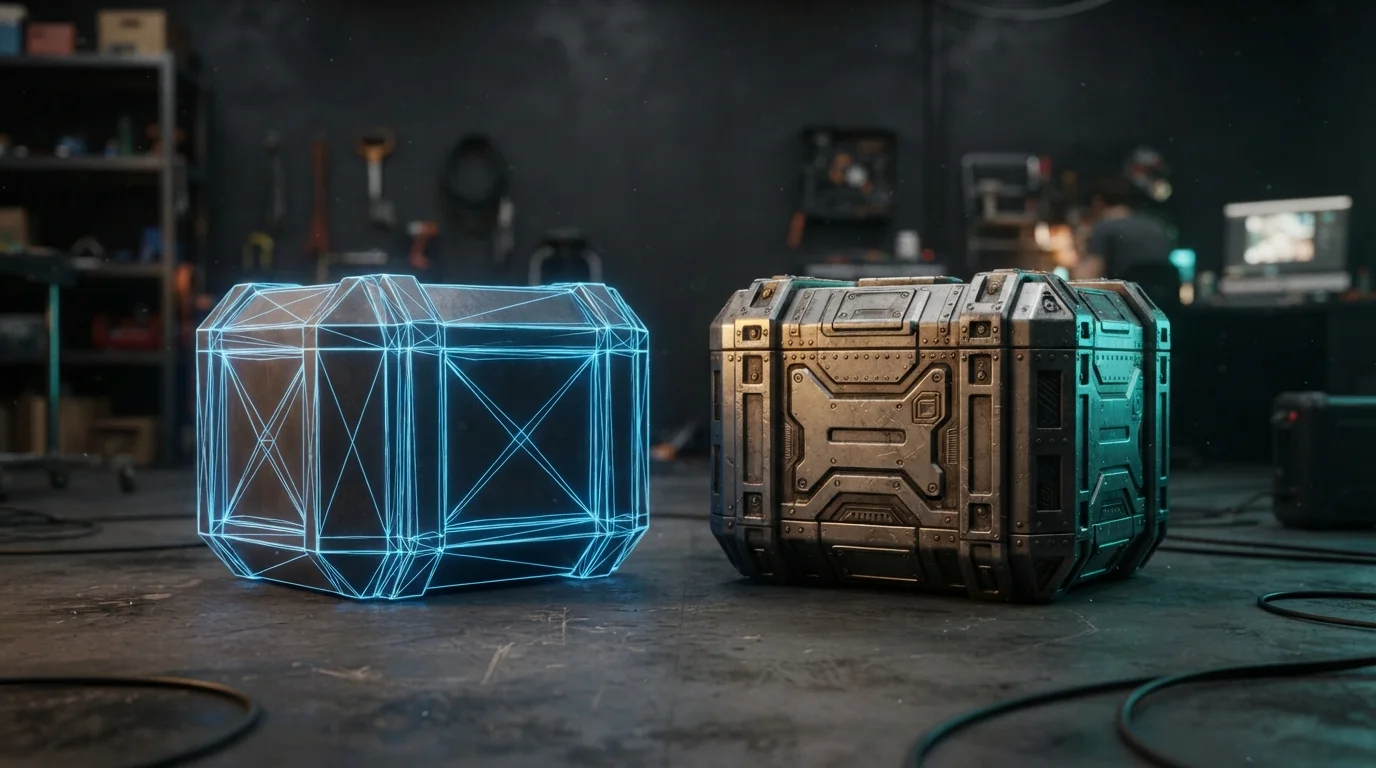
The key distinction is that some detail lives in the shading, not in the mesh. A shading trick changes how light bounces off the surface, so it looks like there is relief, bumps, cracks, or grain, while the actual geometry stays completely flat. That is why a rendered brick wall can look convincing even though the silhouette of the wall is a perfect straight line. Real geometry, by contrast, actually moves the surface, so the silhouette changes and the shape casts real shadows that follow the bumps.
The moment you understand that difference, the whole "bump vs normal map Blender" choice gets much simpler: you are deciding whether you want the cheap fake, the better fake, or the expensive truth.
Bump Maps: Grayscale and Cheap
A bump map is the oldest and simplest trick in the book. It uses a grayscale image in which lighter values push the shading up and darker values pull it down. That height image perturbs the normal direction used for lighting, so the surface appears to have texture.
How the Bump node works
In Blender you plug a grayscale texture into the Bump node, and the node converts that height data into a change in the surface normal at render time. There is no geometry involved, and there is almost no memory cost, because you only need a single grayscale channel instead of a full RGB image. That makes bump maps nearly free to add to any material.
Where bump shines: EEVEE and low-cost renders
Bump maps are at their best in EEVEE and in any scene where you want a lot of fine surface detail without spending much render time. Because the effect is purely a shading operation, it scales well and keeps interactive viewport feedback snappy. The flip side is that the detail is shallow. The Blender manual notes that when the real shape of the geometry differs too much from what the bump map implies, you can get visible artifacts, and the usual fix is to lower the bump strength or switch to actual displacement.
Normal Maps: RGB Vectors, Better Detail
A normal map takes the same idea one step further. Instead of a single grayscale height value, it stores direction information as RGB data, with each color channel describing how the surface normal should tilt in a different axis.
Tangent space normals and the Normal Map node
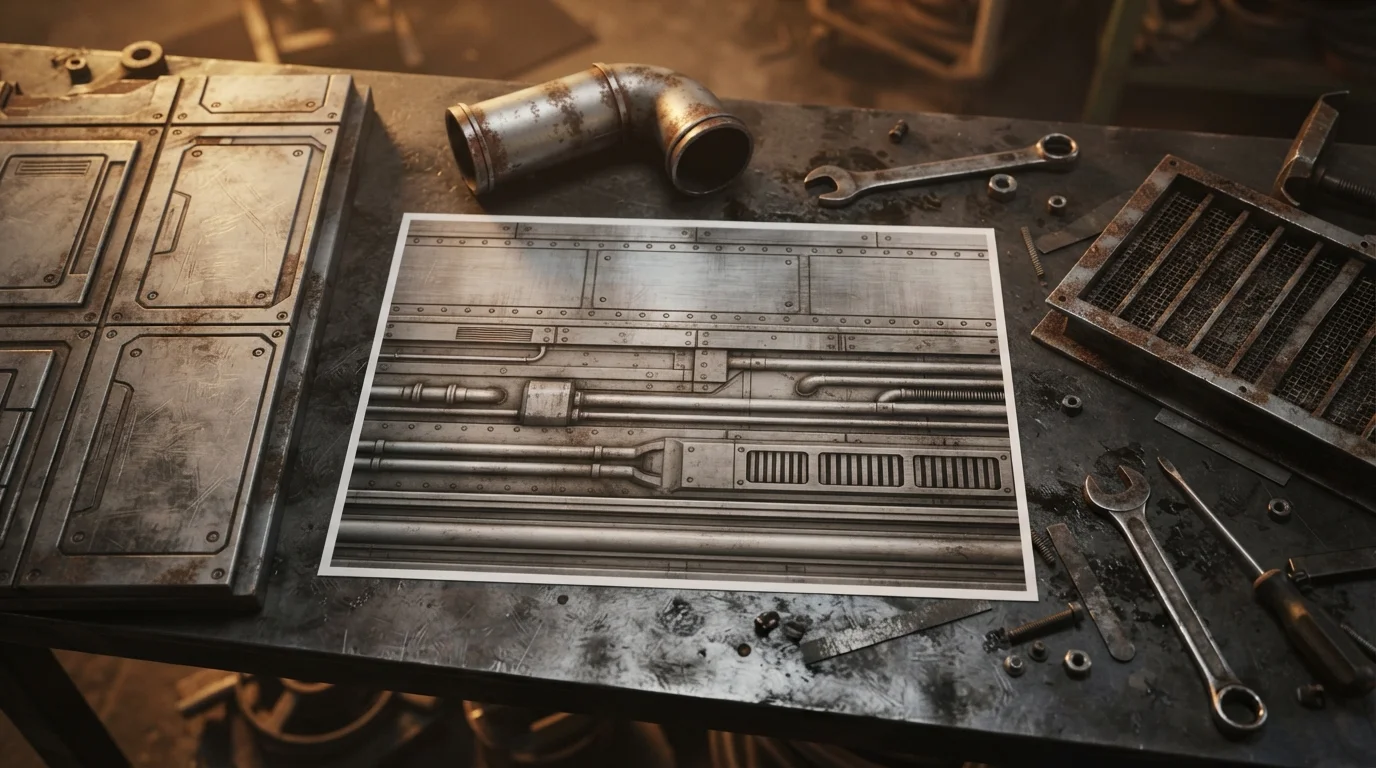
Most game and asset-pack normal maps live in tangent space, which means the stored directions are relative to the surface orientation. That is why they look flat, blue-purple images: the neutral direction reads as roughly pure blue, and any deviation shifts the red and green channels. In Blender you use the Normal Map node to read that texture and turn it into the actual shading normal. It gives you finer, more controllable detail than a bump map, still without adding a single polygon.
Bump vs normal: why normal maps won
This is the heart of the "bump vs normal map Blender" comparison. Normal maps won in most production pipelines because they describe detail more accurately and give you more control, all at a similar, tiny memory cost. If you only need a subtle grain, a bump map is fine. If you want believable cracks, stitches, rivets, or scales, a normal map is almost always the better choice because it can express much more directional nuance than a flat height ramp.
Displacement: Real Geometry, Real Cost
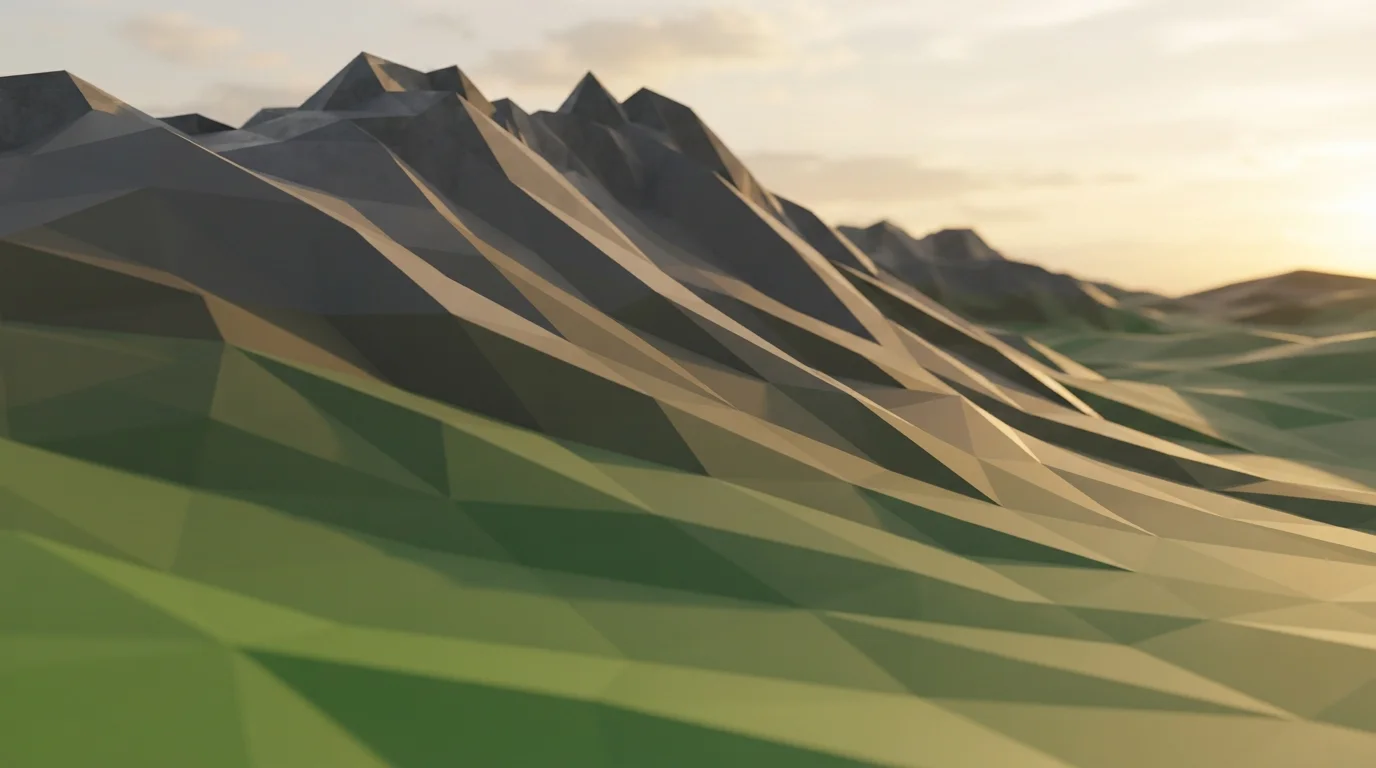
The third option, displacement, actually moves the surface geometry. It takes the grayscale height image and repositions vertices so the silhouette changes, cast shadows follow the bumps, and the object genuinely has relief.
True displacement in Cycles and adaptive subdivision
In Cycles, true displacement is connected through the Displacement socket on the Material Output node. For it to do anything useful, the mesh needs enough density, because displacement can only push existing vertices. That is where adaptive subdivision comes in: Cycles can subdivide the mesh automatically at render time so micro-displacement reaches detail levels that a normal subdivision pass could never approach. It is a powerful effect, but it is also the reason displacement is the most expensive option in this list.
Displacement Only vs Displacement and Bump
The Displacement socket in Cycles has two practical modes. "Displacement Only" applies the real geometry move and ignores the shading trick. "Displacement and Bump" does both: it uses the real displacement for the larger shapes and layers a bump effect on top for fine detail. The Blender manual describes that combined mode as a good balance, because it gets the solid silhouette from real geometry while saving memory by not subdividing enough to capture every tiny pore.
Why EEVEE skips material displacement
Here is a practical catch: EEVEE does not support material-driven displacement. When you render in EEVEE, that Displacement socket is effectively ignored, so your displaced material renders flat. If you want real geometry displacement in EEVEE, you have to use the Displace modifier instead, which applies the effect to the actual mesh before rendering. Keep that in mind when you split scenes between the two engines.
How to Combine Them in One Material
You do not have to pick a single map type. Most professional materials layer several of these together, because each handles a different frequency of detail.
Big displacement + bump for fine detail
A common setup is to use a low-frequency height map for the broad shape, like the curve of a tile or the ridges of bark, and layer a bump or normal map on top for the fine texture that would be wasteful to model. The combined Displacement and Bump mode in Cycles is built exactly for this: the real geometry carries the structure, and the shading trick carries the micro-detail. That way you get a convincing surface without subdividing to the point where render memory explodes.
Bump vs Normal Map Blender: Which One Should You Use?
If you want a quick answer:
- Use a bump map when you need subtle, shallow texture and you want it as cheap as possible, especially in EEVEE.
- Use a normal map when you want fine, directional detail like cracks, fabric, or rivets, without touching the mesh.
- Use real displacement when the silhouette matters, like a rocky cliff, carved stone, or terrain you will see from the side.
- Layer them when you need both structure and micro-detail, and let "Displacement and Bump" carry the fine grain.
- Remember EEVEE ignores material displacement, so rely on bump or normal maps there, or use the Displace modifier.
Checklist
Before you finish a material, run through this checklist:
- Are you only adding shallow texture? Bump is your fastest, cheapest option.
- Do you want crisp, directional detail? Switch to a normal map.
- Does the silhouette or the cast shadow need to change? Use real displacement with enough mesh density.
- Are you rendering in EEVEE? Skip material displacement and use bump, normal, or the Displace modifier.
- Worried about render memory? Micro-displacement subdivides at render time, so dense displacement can eat VRAM and RAM fast, while bump and normal maps are nearly free.
- Do your asset pack maps have all of these? Most quality PBR packs ship height, normal, and displacement maps together, and now you know exactly when each one earns its place.
Once you can read a material and instantly know which map is doing which job, you will render faster, waste less memory, and stop chasing flat-looking surfaces. If you want ready-made materials and scene packs that are already wired up with the right maps, take a look through the shop at QuickPoly and see how a properly built PBR setup behaves.