Principled BSDF Material Setup: The Complete Texture Workflow in Blender
The Complete Principled BSDF Texture Workflow
Most Blender users overcomplicate materials. They stack shaders, mix diffuse with glossy, and add nodes they barely understand. The Principled BSDF shader was built to eliminate that: one node, physically based inputs, and a texture workflow that works identically in Cycles and EEVEE. If you learn how to feed it real PBR maps correctly, you can build any surface in the software - from brushed metal to wet rock - in under two minutes.
This tutorial walks through the complete Principled BSDF material setup: which texture maps you need, how to connect them in the right color spaces, and the mistakes that make materials look flat or broken.
What Principled BSDF Actually Does
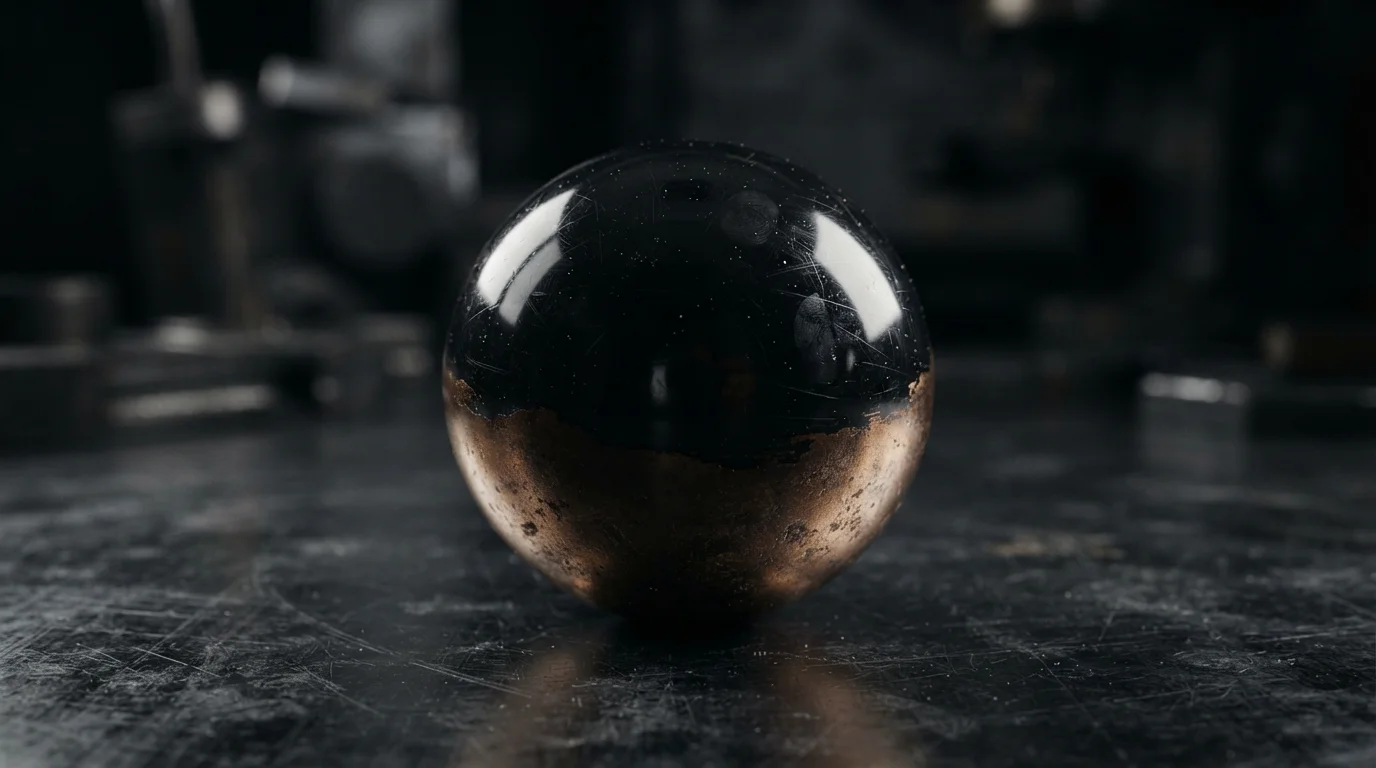
Principled BSDF is Blender's implementation of the Disney principled shading model. Instead of separate shaders for diffuse, glossy, and transmission, one node combines them with physically inspired parameters: Base Color, Metallic, Roughness, and a dozen secondary inputs like Sheen, Coat, and Transmission.
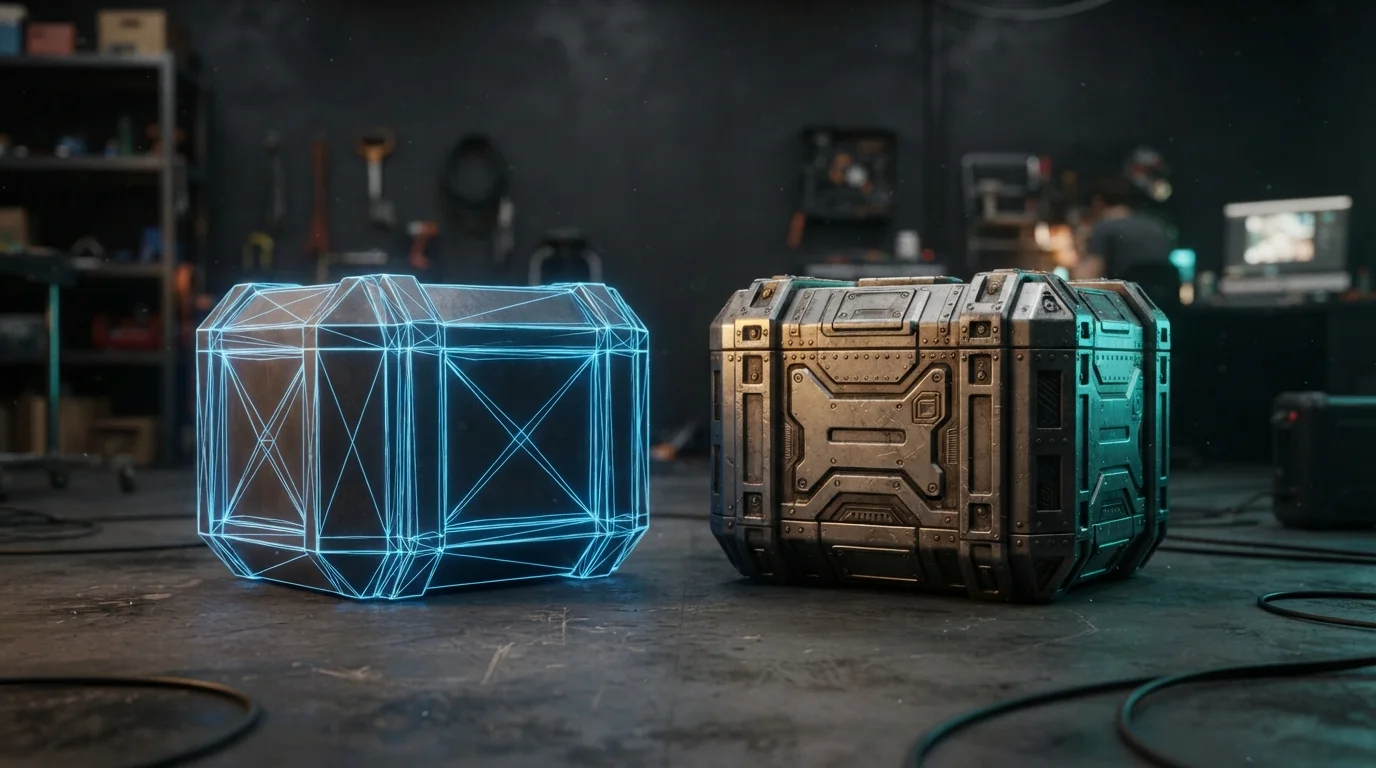
The key idea: you drive these parameters with texture maps, not flat values. A flat roughness of 0.4 looks fake on a scratched surface; a roughness map that varies per pixel looks real. The texture workflow is the entire point of the shader.
The Maps You Need (and What Each One Does)
| Map | Principled BSDF input | Color space |
|---|---|---|
| Base Color (albedo) | Base Color | sRGB |
| Roughness | Roughness | Non-Color |
| Metallic | Metallic | Non-Color |
| Normal | Normal (via Normal Map node) | Non-Color |
| Height / Displacement | Displacement (or bump) | Non-Color |
| Ambient Occlusion | optional, mix with Base Color | Non-Color |
Base Color is the diffuse albedo - the actual surface color. Roughness controls micro-surface detail: 0 is mirror, 1 is matte. Metallic sets whether the surface behaves like metal (1.0) or dielectric (0.0). Normal adds surface detail without geometry. Height adds real displacement. AO darkens crevices.
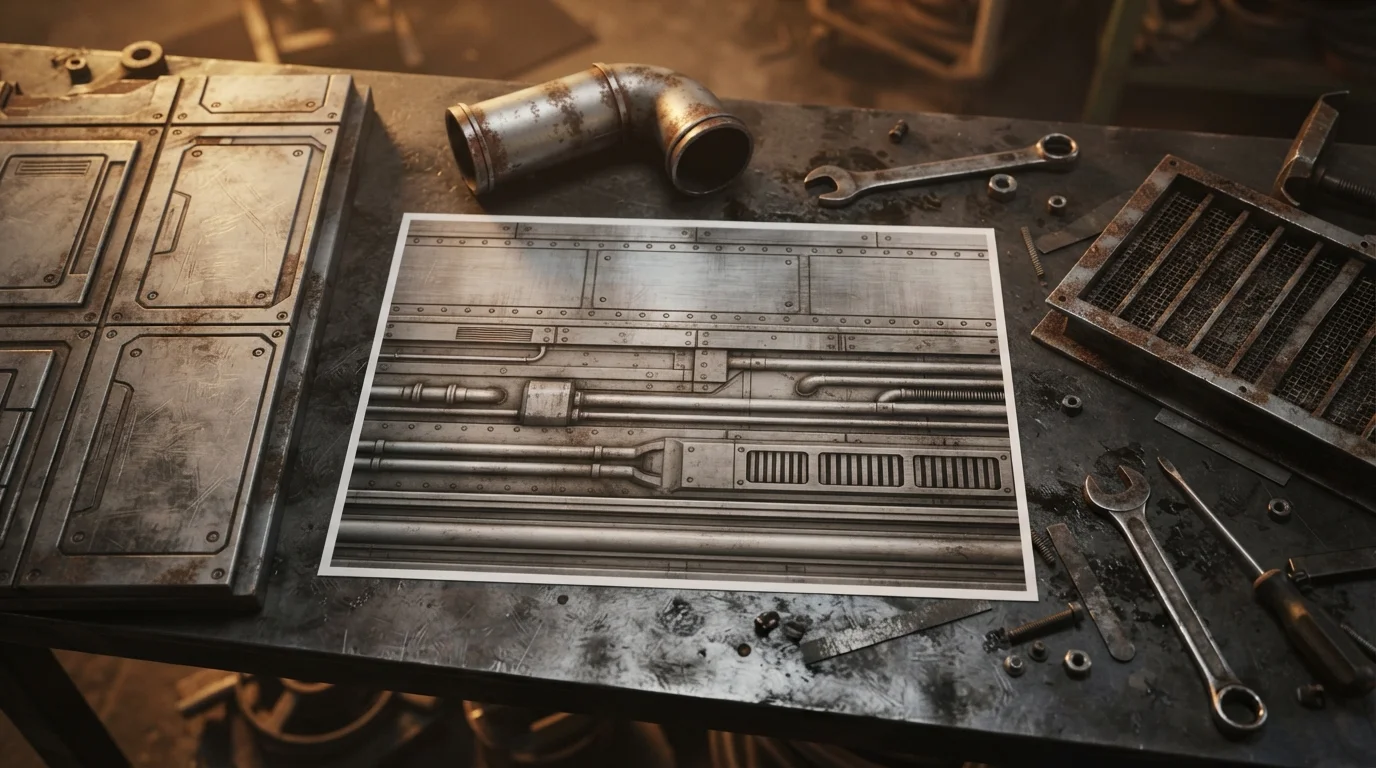
Free PBR sets from sites like Poly Haven, ambientCG, or Quixel Bridge ship exactly these maps. The set usually includes a README showing which texture goes where - follow it, then apply the setup below.
Step 1: Connect Base Color
Add an Image Texture node (Shift+A to Texture to Image Texture) and load the Base Color map. Connect its Color output to the Base Color input of Principled BSDF. Leave this map in sRGB color space - it is a color image.
Step 2: Add Roughness and Metallic (Non-Color!)
This is where beginners ruin their materials: data maps must be set to Non-Color. A roughness map is not an image of colors - it is grayscale data. If you leave it in sRGB, the values get gamma-transformed and your roughness will be wrong: too glossy or too matte, impossible to predict.
For each data map: select the Image Texture node, open the Color Space dropdown, choose Non-Color, then connect Color to Roughness or Metallic. Straightforward, but the single most common mistake in any Principled BSDF material setup.
Step 3: Normal Map Through the Normal Map Node
Never connect a normal texture directly to the Normal input. Add a Normal Map node (Shift+A to Vector to Normal Map) between the texture and the shader. The normal texture goes into its Color input (Non-Color), and the Normal Map node's output goes to Principled BSDF's Normal.
The Strength slider on the Normal Map node scales the effect - start at 1.0, lower it to 0.3-0.5 for subtle surfaces like fabric, raise it for dramatic stone. If normals look inverted, set the node's Space to Tangent and flip the direction with the Multiply nodes or a negative strength.
Step 4: Height as Bump or True Displacement
Height maps give surfaces actual relief. You have two options:
- Bump (cheap): Image Texture (Non-Color) to Bump node to Normal input. Fake relief that renders fast, works in EEVEE.
- True displacement (expensive): Image Texture (Non-Color) to Displacement node to Displacement input of the Material Output. Real geometry movement - only in Cycles, and only when the material's Settings panel has Displacement set to Displacement and Bump or Displacement Only.
For close-ups, true displacement wins. For anything else, bump is the pragmatic choice - especially in real-time renders.
Step 5: Ambient Occlusion (Optional Polish)
AO darkens the crevices where light can't reach. Connect the AO map (Non-Color) into a Mix RGB node set to Multiply, with Base Color as the other input, and route the mix into the Base Color socket. Keep the mix factor around 0.8 so the effect is subtle - full-strength AO looks dirty.
UVs, Mapping, and Tiling
Textures only look right if the UVs are correct. For organic shapes, unwrap with U to Unwrap (or Smart UV Project for quick results). For surfaces where you need to repeat a texture, add a Texture Coordinate node and a Mapping node before the Image Texture: plug Texture Coordinate's Generated or Object output into Mapping, then Mapping into the Image Texture's Vector. Scale the X and Y values on the Mapping node to tile the texture across the surface without re-unwrapping.
Box Mapping (on the Mapping node, Projection dropdown) is the quick fix for hard-surface parts: it projects the texture from all sides and hides seams on corners.
Blender 4.x Notes
Since Blender 4.0, Principled BSDF dropped some legacy inputs and reorganized others. The core workflow above is unchanged, but two things matter:
- The Specular input now takes a single value (0-1) instead of an IOR-based slider; keep it at the default 0.5 unless you are matching measured materials.
- Coat and Sheen got their own weight/roughness inputs - perfect for car paint (coat) and fabric (sheen). Feed them the same Non-Color map treatment if you have dedicated masks.
Troubleshooting Common Failures
- Pink material: Blender cannot find the texture file. The image is missing or the path broke - check the Image Texture node and re-link the file.
- Washed-out or wrong roughness: the map is still in sRGB. Switch it to Non-Color.
- Normals looking flat or inverted: you skipped the Normal Map node, or the Strength is 0. Add the node and check the strength value.
- Textures stretched or smeared: the UVs are broken. Re-unwrap, or use Box Mapping for hard-surface parts.
- Displacement does nothing: in Cycles, confirm the Material Settings to Surface to Displacement option is not set to Bump Only.
Performance Tips for Real-Time
For EEVEE or game engines, keep texture resolution proportional to the object's screen size, enable mipmaps (Image Texture to Mipmaps), and bake multiple maps into a single texture atlas when an object needs several materials. A clean Principled BSDF material setup with 4K maps on every object will tank real-time performance - resize aggressively.
The Two-Minute Checklist
- Base Color to sRGB to Base Color input
- Roughness to Non-Color to Roughness input
- Metallic to Non-Color to Metallic input
- Normal to Non-Color to Normal Map node to Normal input
- Height to Non-Color to Bump or Displacement
- AO to Multiply mix with Base Color (factor 0.8)
That is the full texture workflow. Master these six connections and you can replicate almost any real-world material in Blender - the shader does the physics, the maps do the rest.