How to Scatter Grass and Rocks in Blender With Geometry Nodes
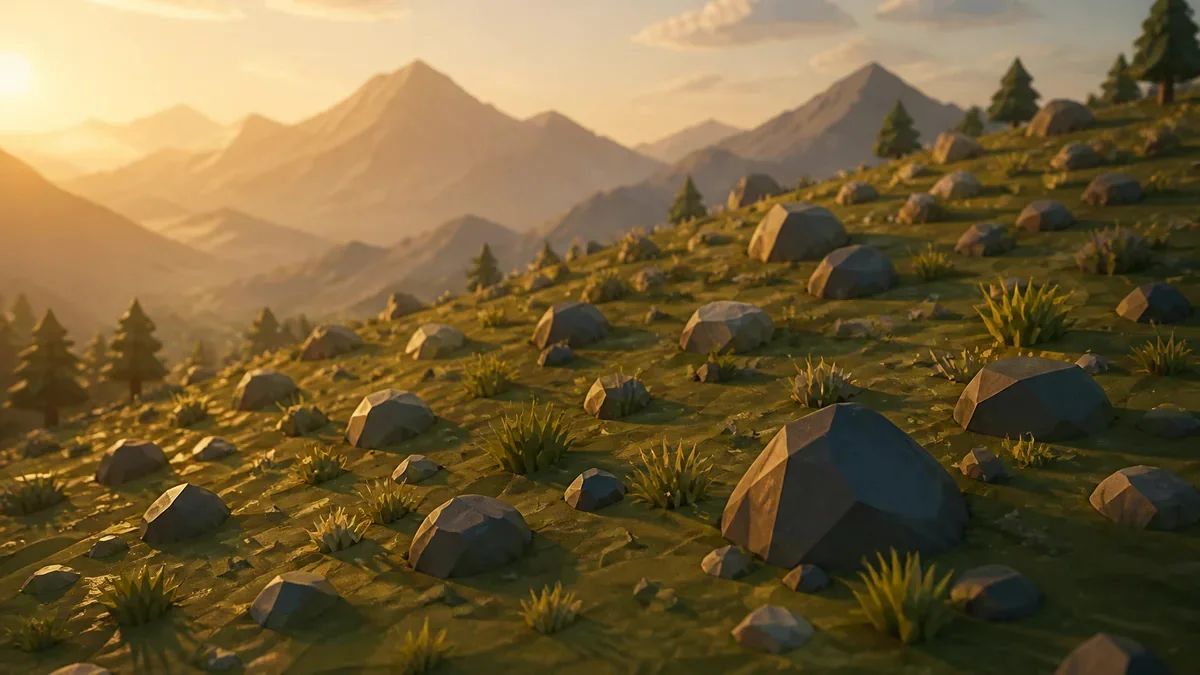
How to scatter objects in Blender with Geometry Nodes
To scatter objects in Blender with Geometry Nodes you only need two nodes working as a pair: Distribute Points on Faces generates points across a surface, and Instance on Points places a copy of an object at each of those points. That is the whole core of the technique. Density, variation and randomness are controls you layer on top.
The word "instance" is the part worth understanding. An instance is a reference to the original geometry, not a duplicate of it. The mesh data exists once in the file and each point holds a transform that points back at it. That is why a terrain carrying 40,000 grass clumps can still open fast and render without consuming all your memory.
The generated points are not objects either. They live inside the node tree as a point cloud and arrive carrying attributes copied from the surface: UVs, vertex weights, normal and position. Those attributes are what let you drive density and rotation later without modelling anything by hand.
Step 1: build the emitter and the scatter collection
Start with the surface that will receive the scatter. A low poly plane with some relief works well: a couple of subdivisions, a Displace or a quick sculpt pass, and you have hills to test on. Any mesh with faces can be an emitter - a terrain, a boulder, a curved roof - because the node only cares about the surface it is given.
Select the terrain, add a Geometry Nodes modifier and press New to create a node group. That group already ships with a Group Input and a Group Output wired to each other, and the modifier evaluates whatever you build between them.
Then build the source assets. Create a collection with three to five variants: rock_01, rock_02, rock_03 and a couple of grass clumps. Keep them low poly on purpose. A scatter multiplies whatever detail you feed it, so a heavy hero asset becomes a performance problem the moment it is repeated a few thousand times.
Step 2: control the point density
Add a Distribute Points on Faces node and plug Group Input into its Geometry input. Density is measured in points per square meter, so the number you type is multiplied by the area of the surface - it is not a total count. That difference matters the moment your terrain is not a flat square.
Some real reference numbers:
| Surface | Area | Density 0.5 | Density 1.0 |
|---|---|---|---|
| 50 x 50 m plane | 2,500 m2 | 1,250 points | 2,500 points |
| 100 x 100 m plane | 10,000 m2 | 5,000 points | 10,000 points |
| 200 x 200 m plane | 40,000 m2 | 20,000 points | 40,000 points |
That last row is already heavy for a smooth viewport, which is why you should think in points per square meter instead of "enough rocks".
Seed reshuffles the distribution without changing how many points you get, and it is the fastest way to hunt for a layout you like. There are two sampling methods: Random, the fastest, and Poisson Disk, which enforces a Distance Min and a Density Max for even spacing. Watch the behaviour: with Distance Min at its default of 0 the result is identical to Random, and once the requested density exceeds what the minimum distance allows, no extra points are added past that threshold.
Step 3: instance a collection and randomize it
Now feed those points into geometry. Add Collection Info, pick your collection and enable Separate Children. Each child then comes out as its own instance, ordered alphabetically with objects and subcollections mixed into one list - which is why naming files rock_01, rock_02 instead of big rock, small rock saves you debugging later.
Connect the Collection output to the Instance input of Instance on Points, turn on Pick Instances, and drive Instance Index from a Random Value node set to Integer with Max at the number of variants minus one. That single link is what breaks the "all rocks are identical" look.
Randomize Scale and Rotation with a second Random Value in Vector mode. A scale range around 0.8 to 1.3 and a full turn on Z reads as natural without looking chaotic. To make grass follow the slope of the terrain, connect the Rotation output of Distribute Points on Faces straight into the Rotation input of Instance on Points - the surface normal already carries that information.
Step 4: fix the things that always break
A few problems account for most broken scatter setups, and all are quick once you know where to look.
- Off-centre children. If an asset was modelled far from the world origin, every instance appears displaced from its point. Enable Reset Children in Collection Info, which strips each child's transform, and the problem disappears.
- Nested instancing. If the geometry reaching Instance on Points already contains instances, the node instances on top of the points inside those instances and your count explodes. Check what is entering the Instance input when the number looks wrong.
- Stale list order. Renaming objects inside a collection does not re-evaluate the modifier, so the alphabetical order and the mapping between index and variant stay as they were. Force an update before you trust the order.
- Tilted instances. On meshes with custom normals the scatter can look wrong. The node has a Legacy Normal option in its sidebar that falls back to true normals only, and it is a one-click fix when rotation looks off while the terrain is fine.
Keep it real-time ready before you export
Geometry Nodes performance rules are simple and easy to ignore: prefer instances over real geometry, do your operations on instances before realizing them, and use Realize Instances only when something genuinely needs editable geometry. The manual is explicit that realizing many instances of complex geometry hurts performance badly, because it turns a reference into millions of vertices.
For an engine export you have two paths. Make Instances Real converts instances into separate objects, the safest option when the importing pipeline expects plain meshes. Applying the modifier instead gives you one merged mesh. Both change the file weight, so check the triangle count after either one against your budget.
Two things worth applying on the same scene: keep a low poly proxy for anything instance-heavy and prepare proper LODs in Blender for distant rows. Clean UV unwrapping pays off too, since scattered assets often share one texture set, and if the base mesh is a dense sculpt a pass of retopology first keeps the whole scatter light.
Check the scatter before you call it done
A short pass before publishing or exporting catches almost everything:
- Density is consistent between the flat area and the hills. Density is per square meter of surface, and a slope has more surface area than its footprint on the plan view.
- No rock is floating above the ground or sunk into it.
- Scale stays inside a believable range, roughly 0.8 to 1.3 for rocks and tighter for grass.
- At least three or four variants are visible, so the pattern does not read at a glance.
- The instance count is measured, not guessed, before you export.
- The node tree has no leftover nodes feeding nothing.
That is the whole workflow. Once the two core nodes are wired the rest is tuning, and the same setup scatters debris, plants, props or crowd elements - only the collection changes.